AI Tutorial
Turn Your Photo into an Animated Mini Figurine with AI
Learn how to turn a photo into a mini figurine and animate it using Luma Dream Machine for creative videos and social media content.
Share
In this tutorial, you’ll learn how to generate a mini figurine version of yourself or a product and then bring it to life using Luma Dream Machine with custom motion and camera effects.
Best suited for:
- Creators looking for unique personal avatars
- Social media storytellers and short-form video creators
- Designers exploring collectible-style product concepts
- Anyone wanting a quick “photo-to-animated figurine” workflow
Step 1: Start with Nano Banana in Gemini
To begin, open Google Gemini and enable the Nano Banana feature.
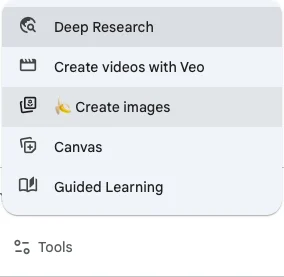
Click on “Create images” to activate the Nano Banana model for generating your figurine.
Step 2: Write your generation prompt
Next, create a prompt that defines both the environment and the figurine style.
Here’s an example prompt you can use:
“First ask me to upload an image, then create a 1/7th scale commercialized figurine of the characters in the picture in a realistic style in a real environment. The figurine is placed on a computer desk. The figurine has a round transparent acrylic base with no text on the base. The content on the computer screen is a 3D modeling process of the figurine. Next to the computer screen is a toy packaging box designed in a style reminiscent of a high-quality collectible figurine, printed with original artwork. The packaging features two-dimensional flat illustrations.”
Make sure Nano Banana is enabled before submitting your prompt.
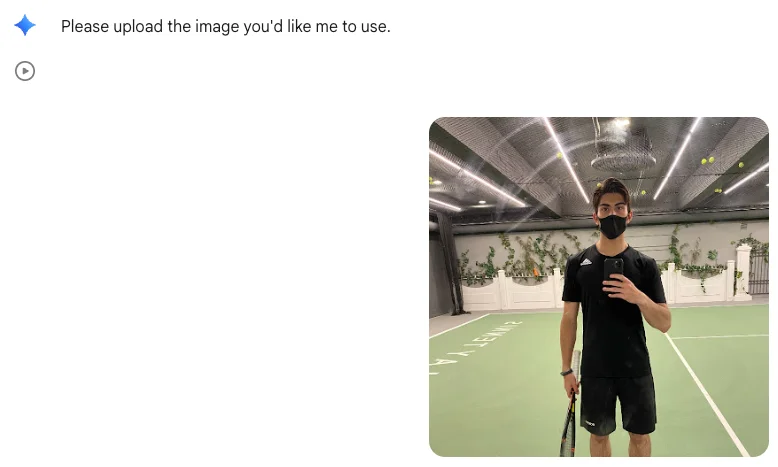
Step 3: Upload your reference image
Once you submit the prompt, Gemini will prompt you to upload an image. Add a photo of yourself or your product.
The generated result will typically include a scene with your figurine displayed on a clear base, along with supporting elements like a monitor showing a 3D version and stylized packaging.

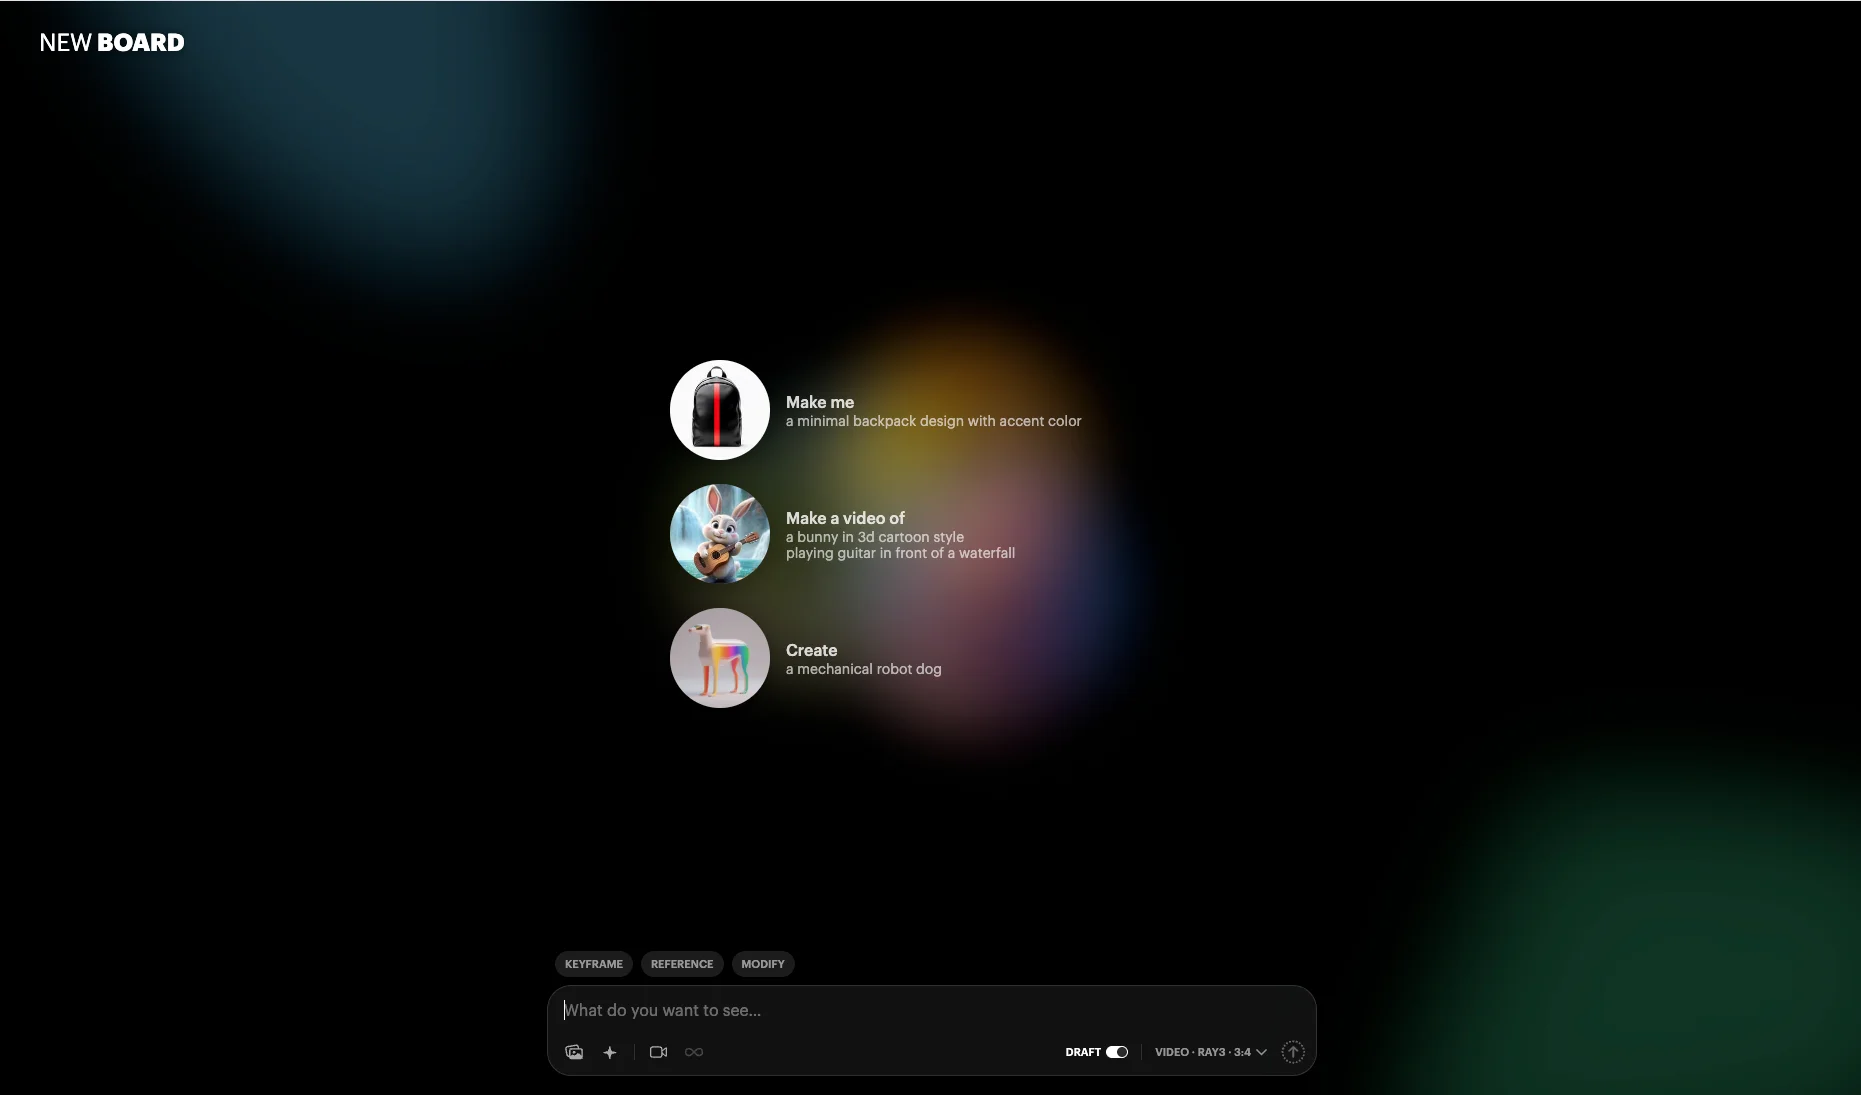
Step 4: Animate the figurine with Luma Dream Machine
After generating your figurine image, go to Luma Dream Machine.
Create a New Board, then upload your figurine image into the prompt area. Describe the motion and camera direction as if you’re planning a shot.
Example animation prompt:
“Front camera view of this figurine. He takes the phone in his left hand, tosses it up like a serve, then, with the racket in his right hand, smashes the phone straight toward the camera.”
Luma will interpret your instructions and generate a motion sequence, sometimes adapting elements creatively while keeping the overall action intact.
You can now animate your figurine in different styles and movements. This approach works well for showcasing products, creating collectible-style visuals, or producing engaging content for social media.
Pro Tip
Think like a filmmaker when writing prompts. Be clear about:
- Camera angle (close-up, front view, slow zoom)
- Movement details (which hand moves, timing, direction)
- Overall style (realistic, cinematic, product showcase)
Editorial Staff
The Editorial Staff at AIChief is a team of Professional Content writers with extensive experience in the field of AI and Marketing. AIChief was Founded in 2025, AIChief has quickly grown to become the largest free AI resource hub in the industry. Stay connected with them on Facebook, Instagram and X for the latest updates.


