AI Tutorial
Self-Host n8n in Minutes (Simple Setup Guide)
Learn how to deploy your own n8n automation server on Railway in minutes, run workflows cheaply, and import AI-generated automations with ease.
Share
In this walkthrough, you’ll set up a personal n8n server and run automations at a low cost. The process is fast, and once deployed, your workflows run continuously in the background.
Who This Is For
- Users spending monthly on automation platforms
- Consultants managing workflows for teams or clients
- Intermediate users looking for more control over n8n
What You’ll Create
A secure n8n instance hosted on Railway. You’ll deploy it, access it via your own URL, and import your first automation using a JSON file.
What You Need
- Railway account (includes free credits)
- GitHub account for login
- Claude or ChatGPT to generate workflow JSON
- Optional API keys (OpenAI, Google Sheets, Slack, etc.)
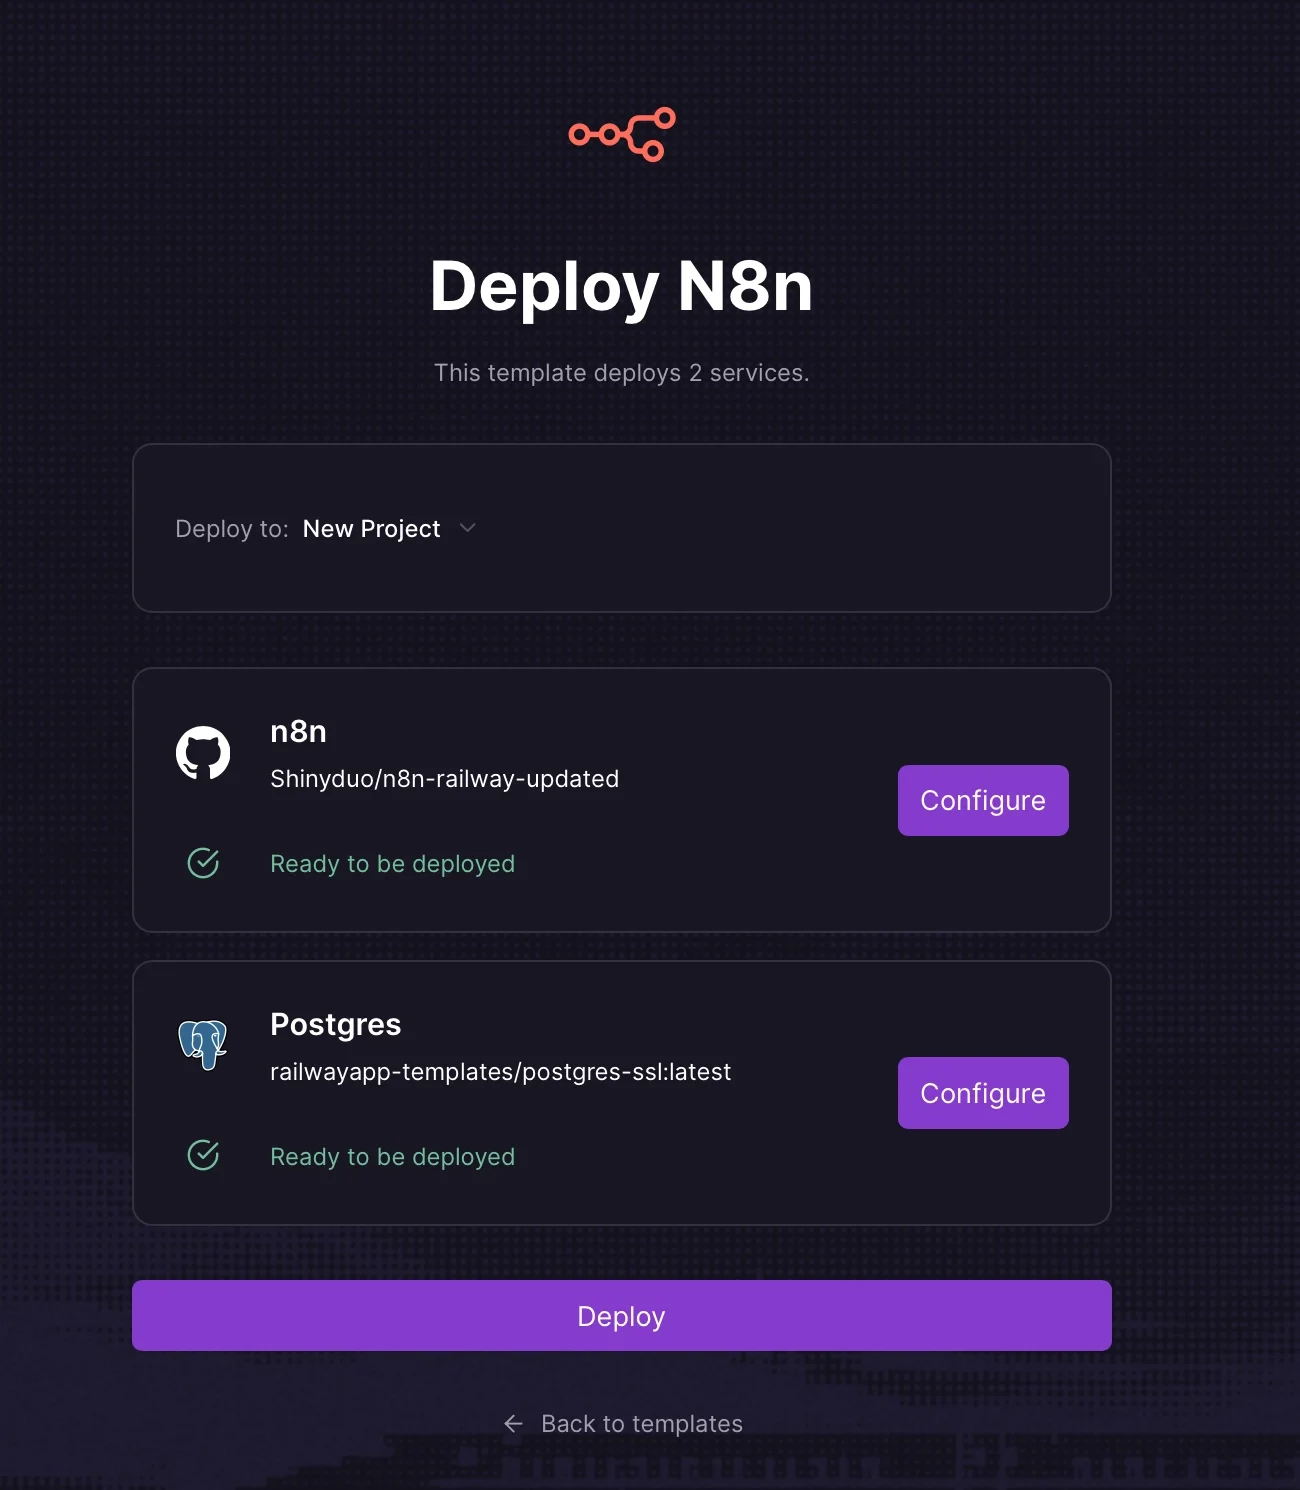
Step 1: Deploy n8n on Railway
Go to the Railway n8n deployment page and click Deploy Now. Sign in with GitHub if required.
You’ll see a configuration screen with environment variables. Leave everything as default and proceed with deployment.
The railway will automatically launch two services:
- A PostgreSQL database for storing workflows and credentials
- The n8n application
This process takes a few minutes, after which both services will appear in your dashboard.
Step 2: Access Your Instance
After deployment, open the n8n service in your Railway dashboard. Copy the generated URL and open it in your browser.
On your first visit, create an account using your email and password. This secures your instance with login protection. You now have a working n8n server accessible via your own link.
Tip: Save this URL; it’s your main automation dashboard.
Step 3: Import Your First Workflow
Inside n8n, click Create Workflow. Instead of building manually, you can generate a workflow using an AI assistant. Describe your automation clearly, including trigger, steps, and output.
Example:
Build an n8n workflow that runs every morning at 8 am, gathers the latest AI news, summarizes it, and emails the result.
The AI will return a JSON file containing the full workflow setup.
Download the file, then in n8n:
- Open your workflow
- Click the menu (top right)
- Select Import from File
- Upload the JSON
The workflow will appear fully configured.
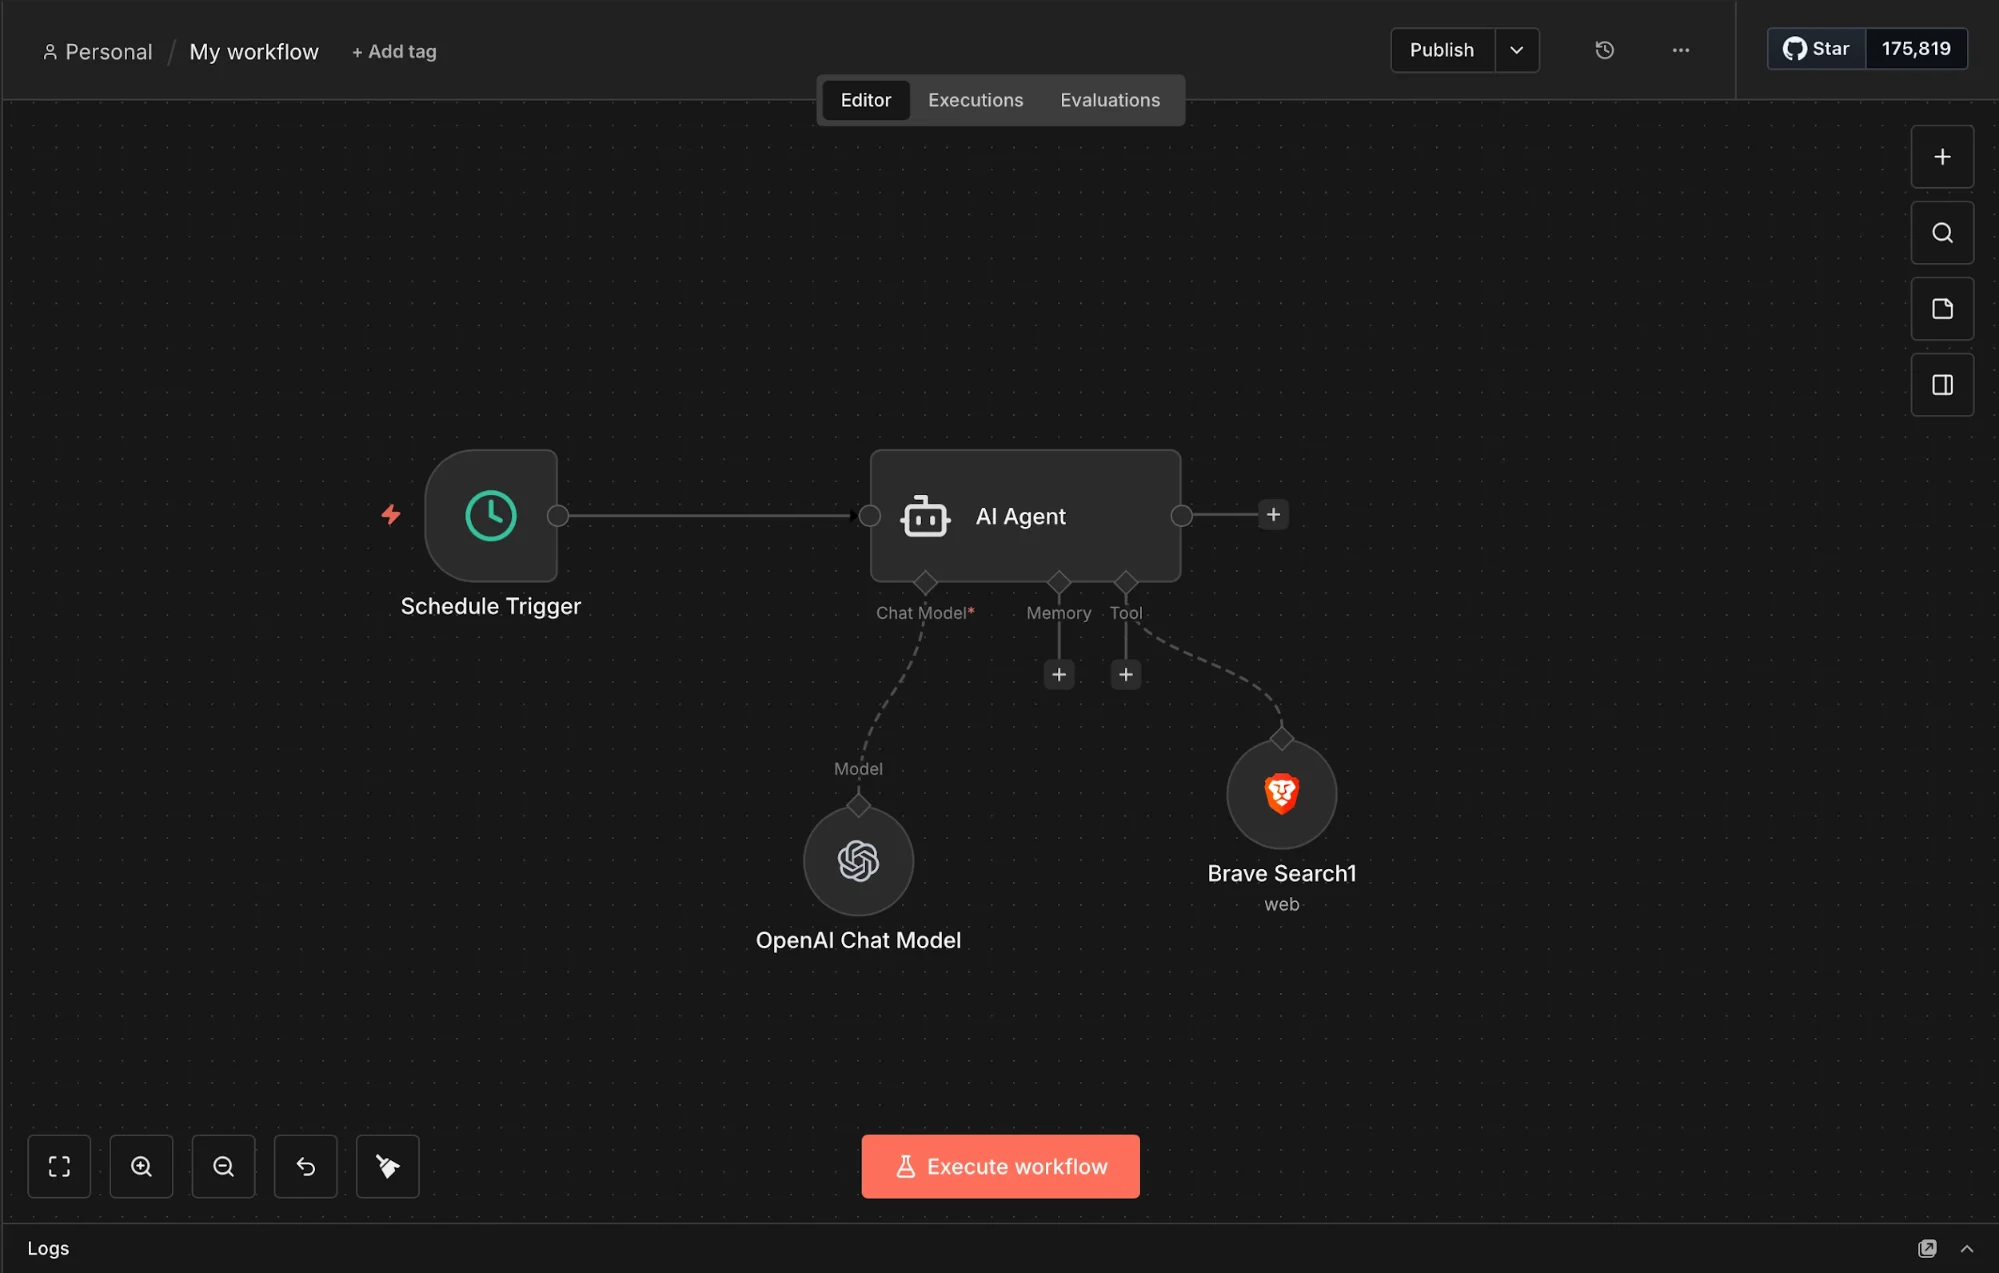
Next, add credentials where required. For each service, create and save credentials once; n8n will reuse them across workflows.
Step 4: Test and Activate
Click Test Workflow to run it manually. Each step will execute and show its status. If something fails, open the affected node to view the error. Most issues come from missing credentials or formatting problems.
Once everything runs correctly, switch the workflow to Active.
It will now run automatically based on its trigger, without needing manual input. Your server operates continuously in the background.
Take It Further
Invite collaborators to your n8n instance to share workflows and credentials across a team.
For Google integrations, create a Google Cloud project and generate the required credentials. This is a one-time setup that enables services like Gmail, Sheets, and Calendar.
You can also create separate Railway deployments for different clients to keep workflows isolated and organized.
Editorial Staff
The Editorial Staff at AIChief is a team of Professional Content writers with extensive experience in the field of AI and Marketing. AIChief was Founded in 2025, AIChief has quickly grown to become the largest free AI resource hub in the industry. Stay connected with them on Facebook, Instagram and X for the latest updates.


