AI Tutorial
Manage Email Expenses Using Claude in Chrome
Track and log expenses from Gmail into Google Sheets using Claude in Chrome. Save time, reduce manual work, and keep your records organized.
Share
Tracking expenses from email receipts often turns into manual work. You open each message, pull out details, and update a spreadsheet. This slows you down and increases errors.
You can simplify this process by letting Claude handle it directly inside Google Chrome. It reads your emails, extracts the data, and updates your Google Sheets file in one pass.
This setup also helps you organize your inbox while collecting expense data.
Requirements
- Set up these tools before you begin:
- Claude with Chrome extension access
- Google Chrome on desktop
- Google Sheets account
- Gmail inbox with receipt emails
Best use cases
This workflow fits people who deal with recurring payments:
- Founders managing SaaS subscriptions
- Freelancers' tracking tools and services
- Anyone preparing monthly expense summaries
What this setup does
Claude scans your inbox for receipt emails within a selected time period. It pulls key fields such as vendor name, payment amount, and billing date. It then logs each entry into your spreadsheet.
At the same time, it applies labels to useful emails and removes clutter from your inbox.
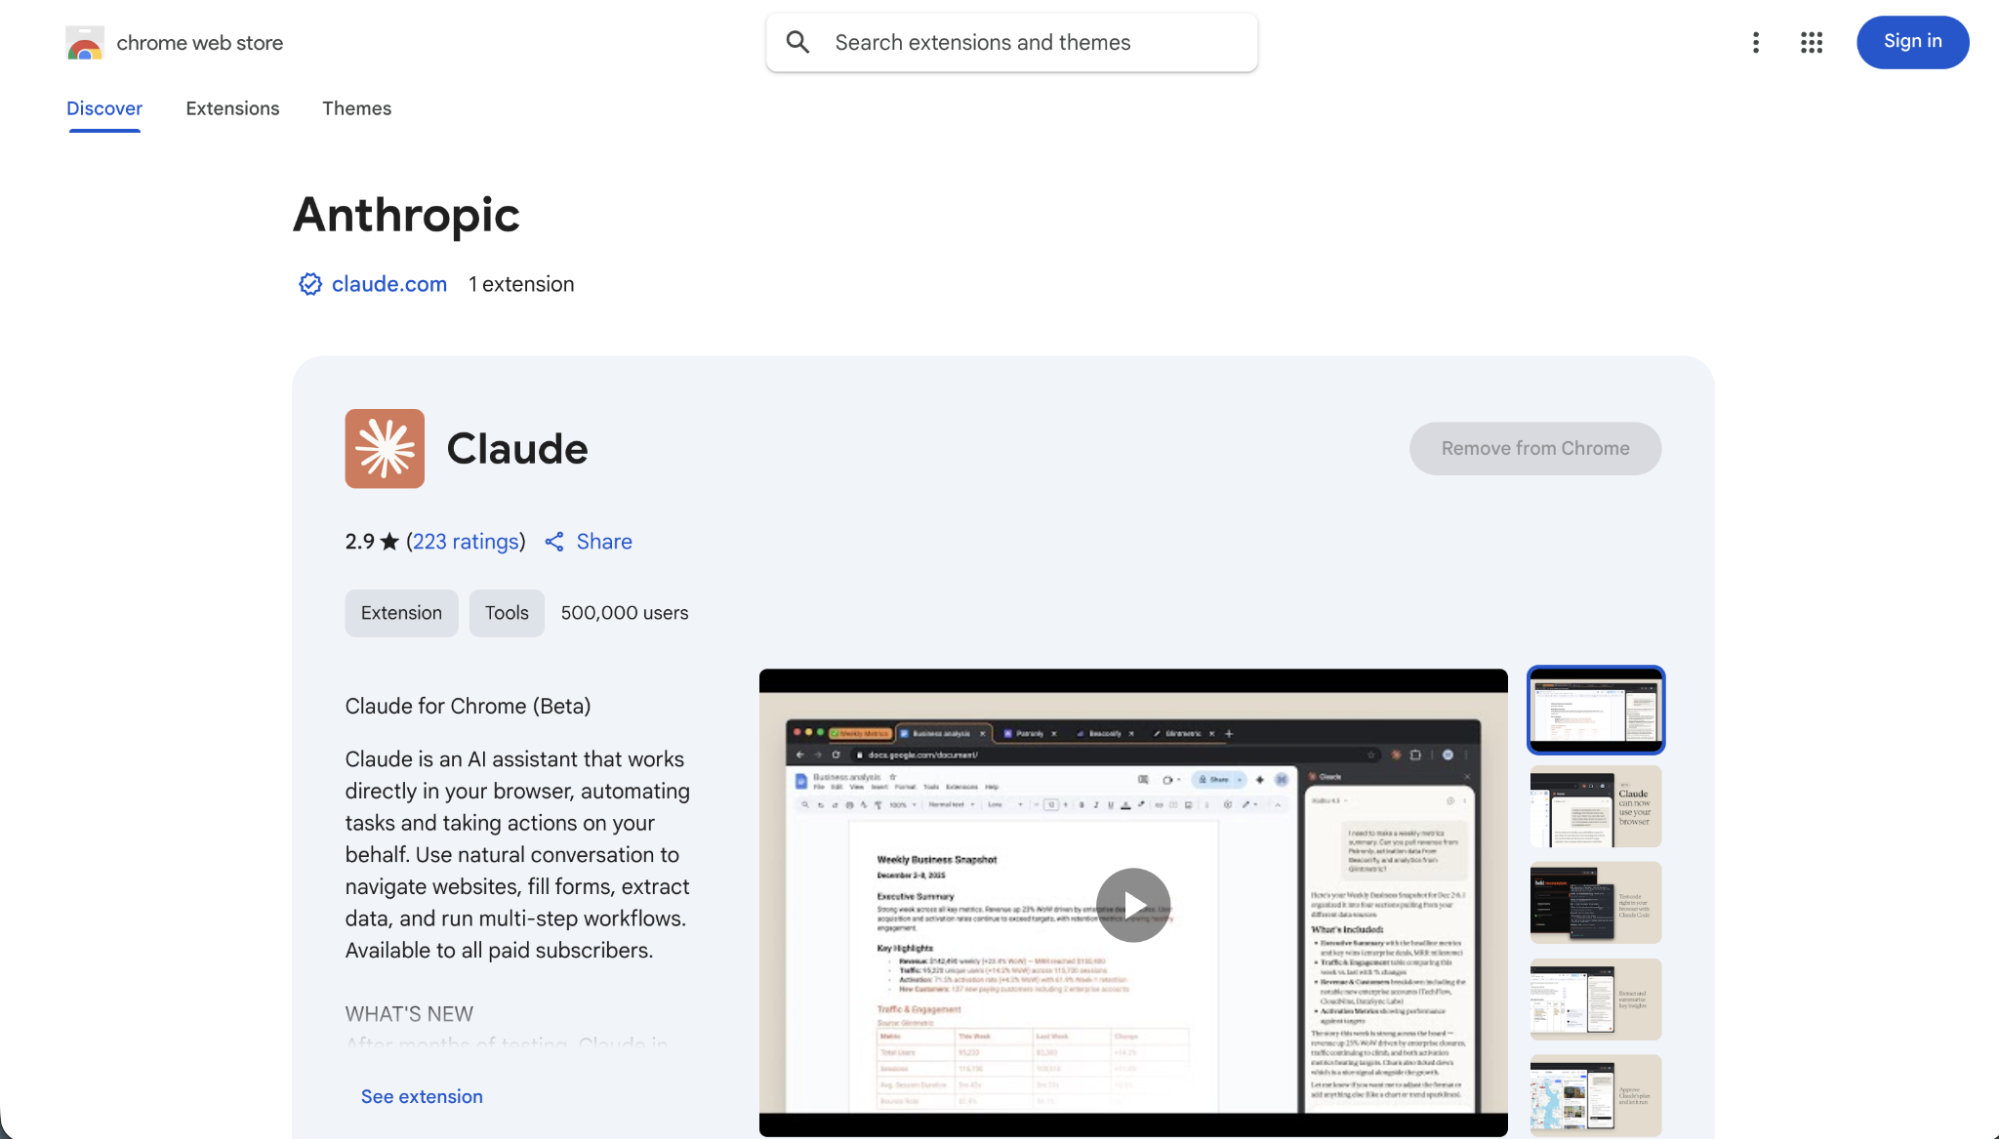
Step 1. Install and enable Claude
Go to the Chrome Web Store and install the Claude extension. Sign in to your account and confirm it appears in your extensions list.
Step 2. Prepare your spreadsheet
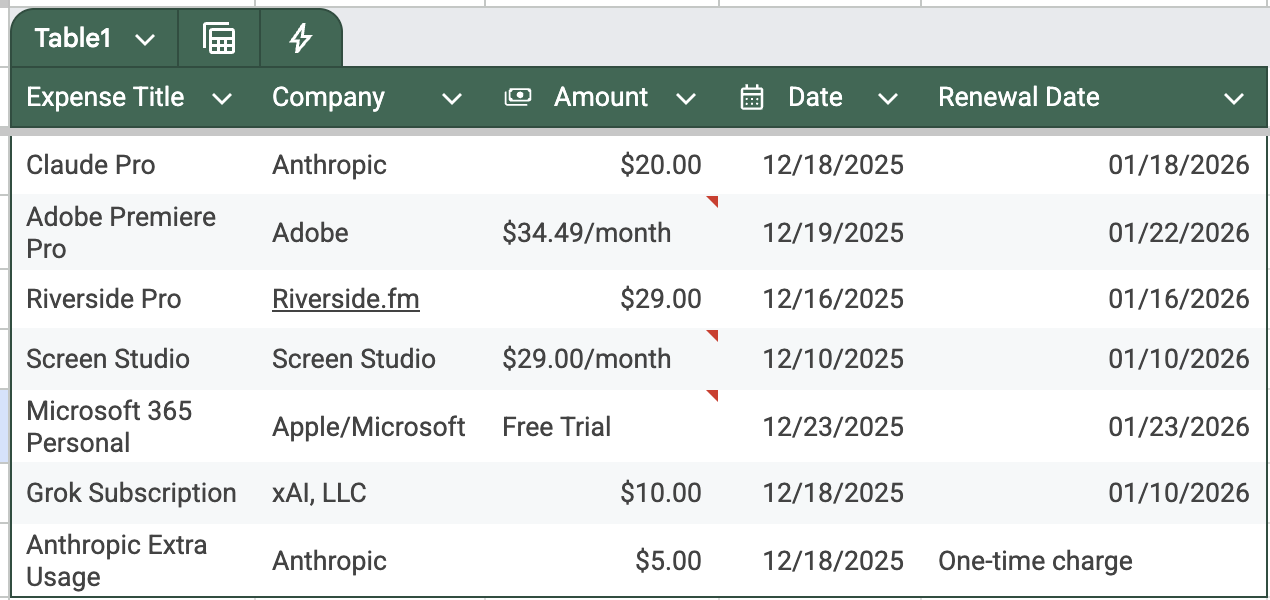
Create a new file in Google Sheets. Add columns that match the data you want to track.

Start with:
- Expense Title
- Company
- Amount
- Date
- Renewal Date
You can customize this sheet. Add fields like Category for grouping or Reimbursable for client expenses.
Copy your sheet URL. You will use it in the next step.
Step 3. Give Claude clear instructions
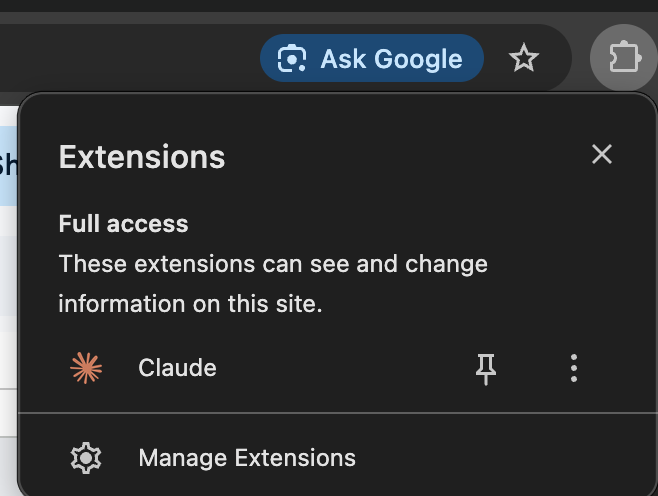
Open a new tab and launch Claude from the extensions menu. Once the tab is active, Claude can interact with it.

Paste the instruction below and update the placeholders:
Scan my Gmail inbox and collect all subscription receipt emails from [Month + Year].
Open this Google Sheet: [PASTE YOUR LINK]. Use the columns already set up. Add one row per receipt with the correct values. Include a total row at the end.
For email handling: label all receipts as "receipt". Archive emails that are not receipts such as promotions or newsletters.
Step 4. Let Claude process your inbox
Run the task and allow time for completion. Larger inboxes take longer. Expect around 10 to 15 minutes in most cases.
If the process pauses, ask Claude to continue from where it stopped.
Make this system repeatable
You can avoid repeating setup steps each time:
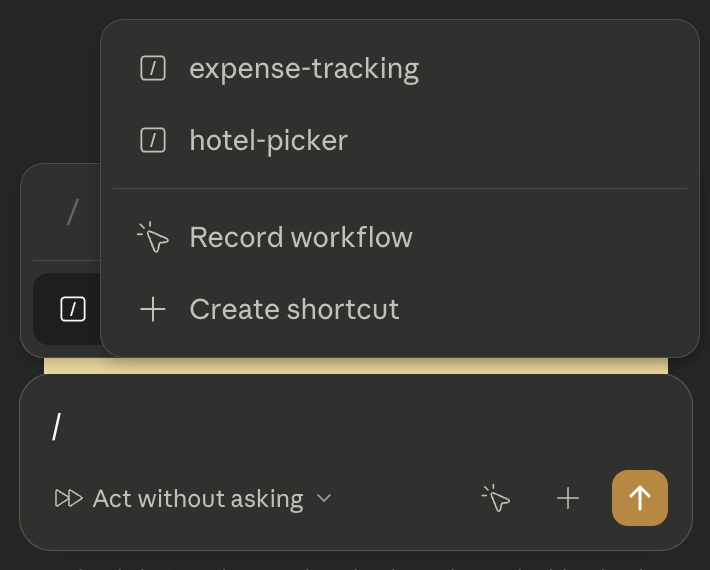
- Save your instruction as a reusable shortcut in Claude
- Use the same spreadsheet for ongoing tracking
- Update only the date range when you run it again
- Run it weekly to keep records current
What changes after setup
You stop entering expense data by hand. Your spreadsheet updates with consistent formatting. Your inbox stays cleaner with labeled receipts and fewer distractions.
This approach gives you a simple and repeatable way to manage expenses using tools you already use.
Editorial Staff
The Editorial Staff at AIChief is a team of Professional Content writers with extensive experience in the field of AI and Marketing. AIChief was Founded in 2025, AIChief has quickly grown to become the largest free AI resource hub in the industry. Stay connected with them on Facebook, Instagram and X for the latest updates.


