AI Tutorial
Build Better Websites with Cursor’s Visual Editor
Design and refine your website UI inside Cursor using its visual editor. Edit elements live, apply styles faster, and reduce switching between tools.
Share
Switching between code and design tools slows your workflow. You write CSS, check the browser, then go back to edit again. This back and forth adds friction.
Cursor now includes a visual editor that lets you adjust your UI while working inside your project. You can select elements, change styles, and apply updates without leaving your editor.
What you need
- Cursor app with latest update
- A basic HTML and CSS project
- Live Server extension
Who this workflow fits
- Developers handling both design and code
- Cursor users building frontends
- Solo builders working without a design tool
What this feature does
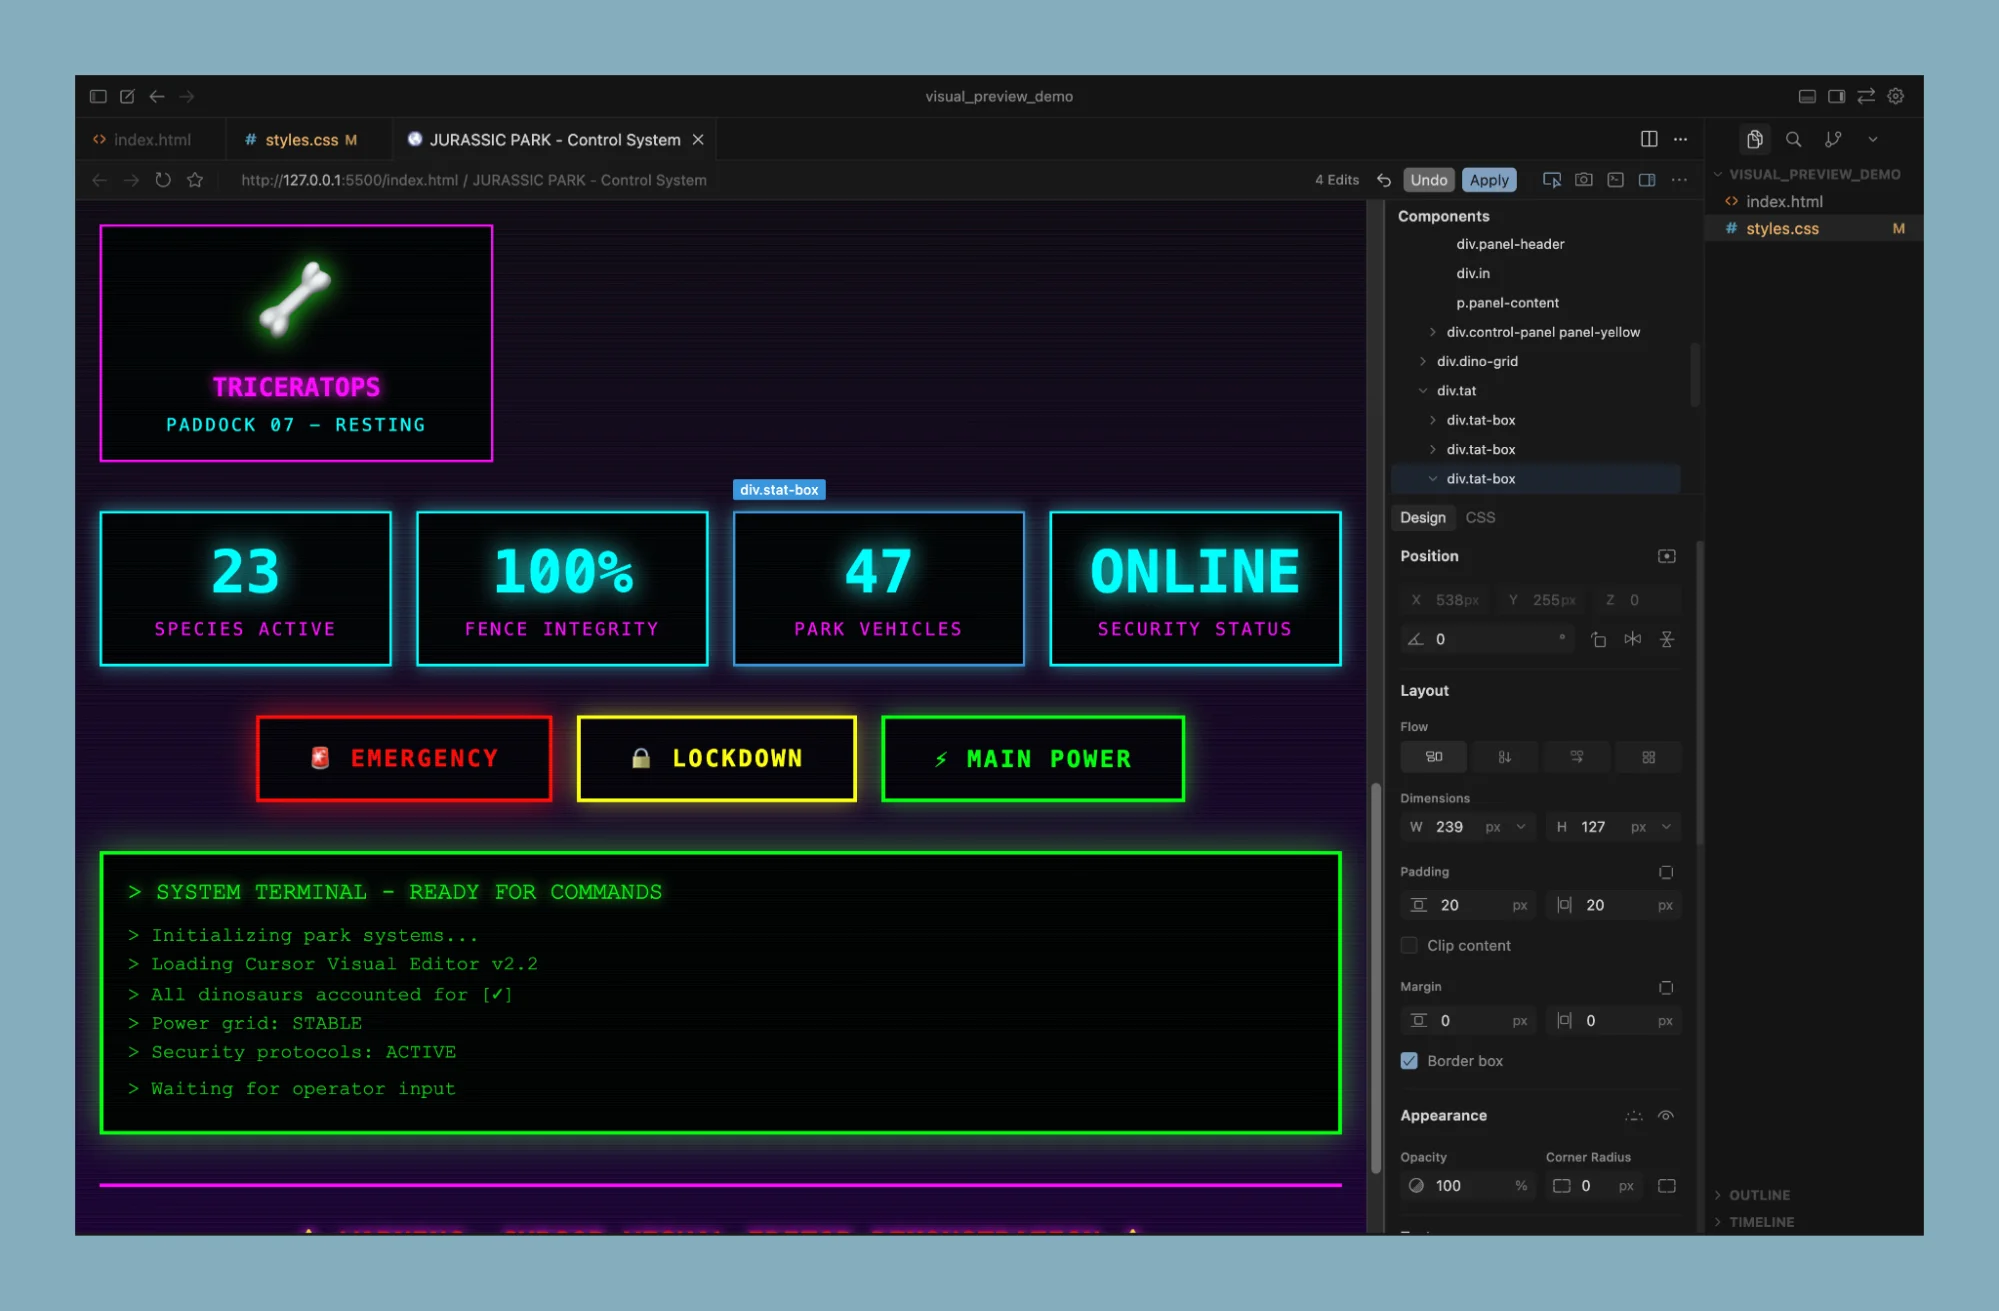
Cursor opens a live version of your site inside the editor. You can click any element and adjust its styles through a visual panel. Changes are applied directly to your codebase.
This reduces the need to switch between tools like Figma and your editor.
Step 1. Prepare your project
Open your project in Cursor. Make sure it includes at least one HTML file and one CSS file.
If you do not have a project, create a simple layout or generate one using an AI assistant.
Step 2. Start a live preview
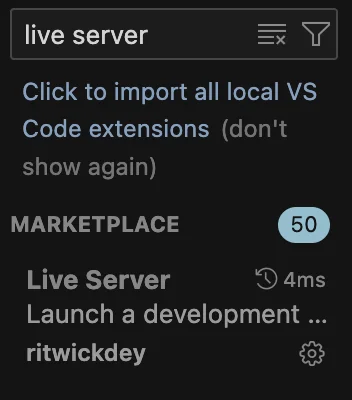
Install the Live Server extension inside Cursor.
Open the command palette and run the option to launch your project with Live Server.
Your site will open in your browser with a local URL.
Step 3. Load your site inside Cursor
Copy the local URL from your browser.
Return to Cursor and open its built-in browser.
Paste the URL and load your site. You now have a live preview inside your editor.
Step 4. Select and edit elements
Enable the element selection mode in Cursor.
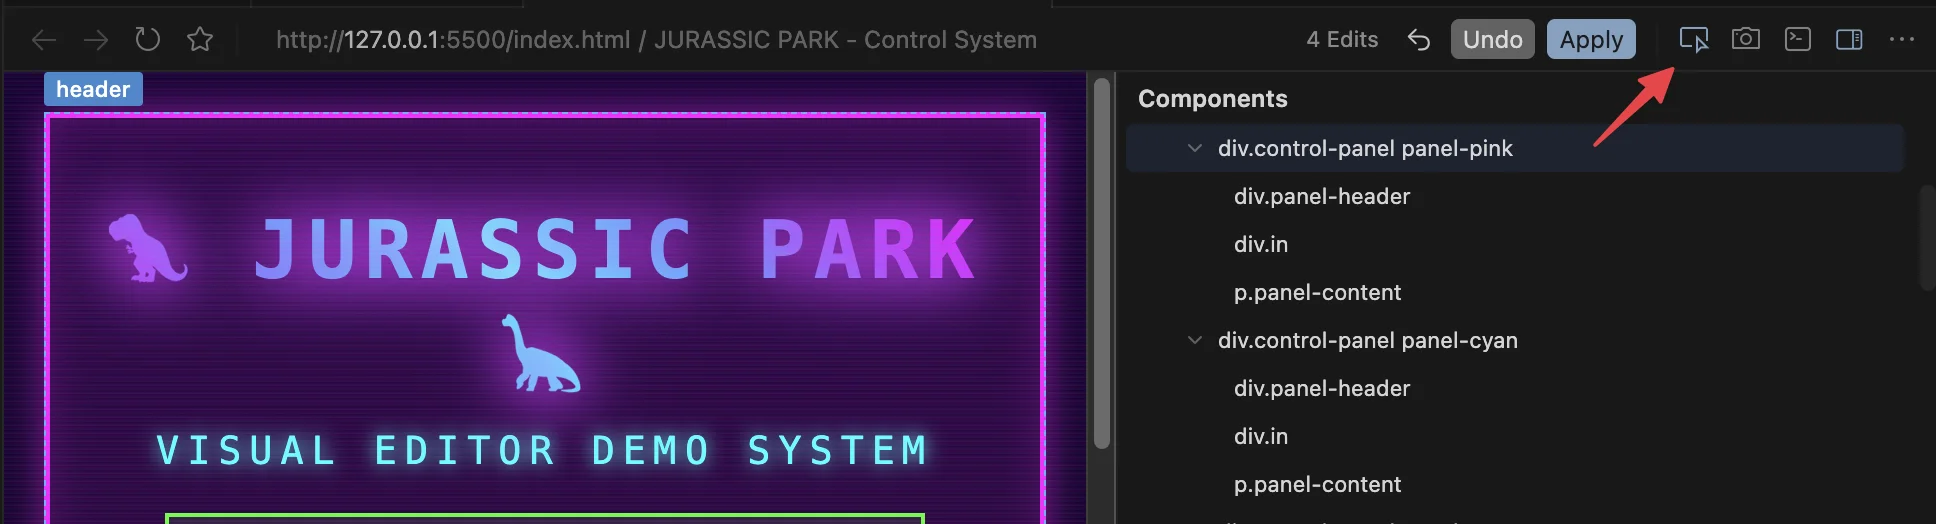
Click on any part of your page. The selected element will appear in the design panel.
You can adjust layout, spacing, colors, and other styles directly from this panel.
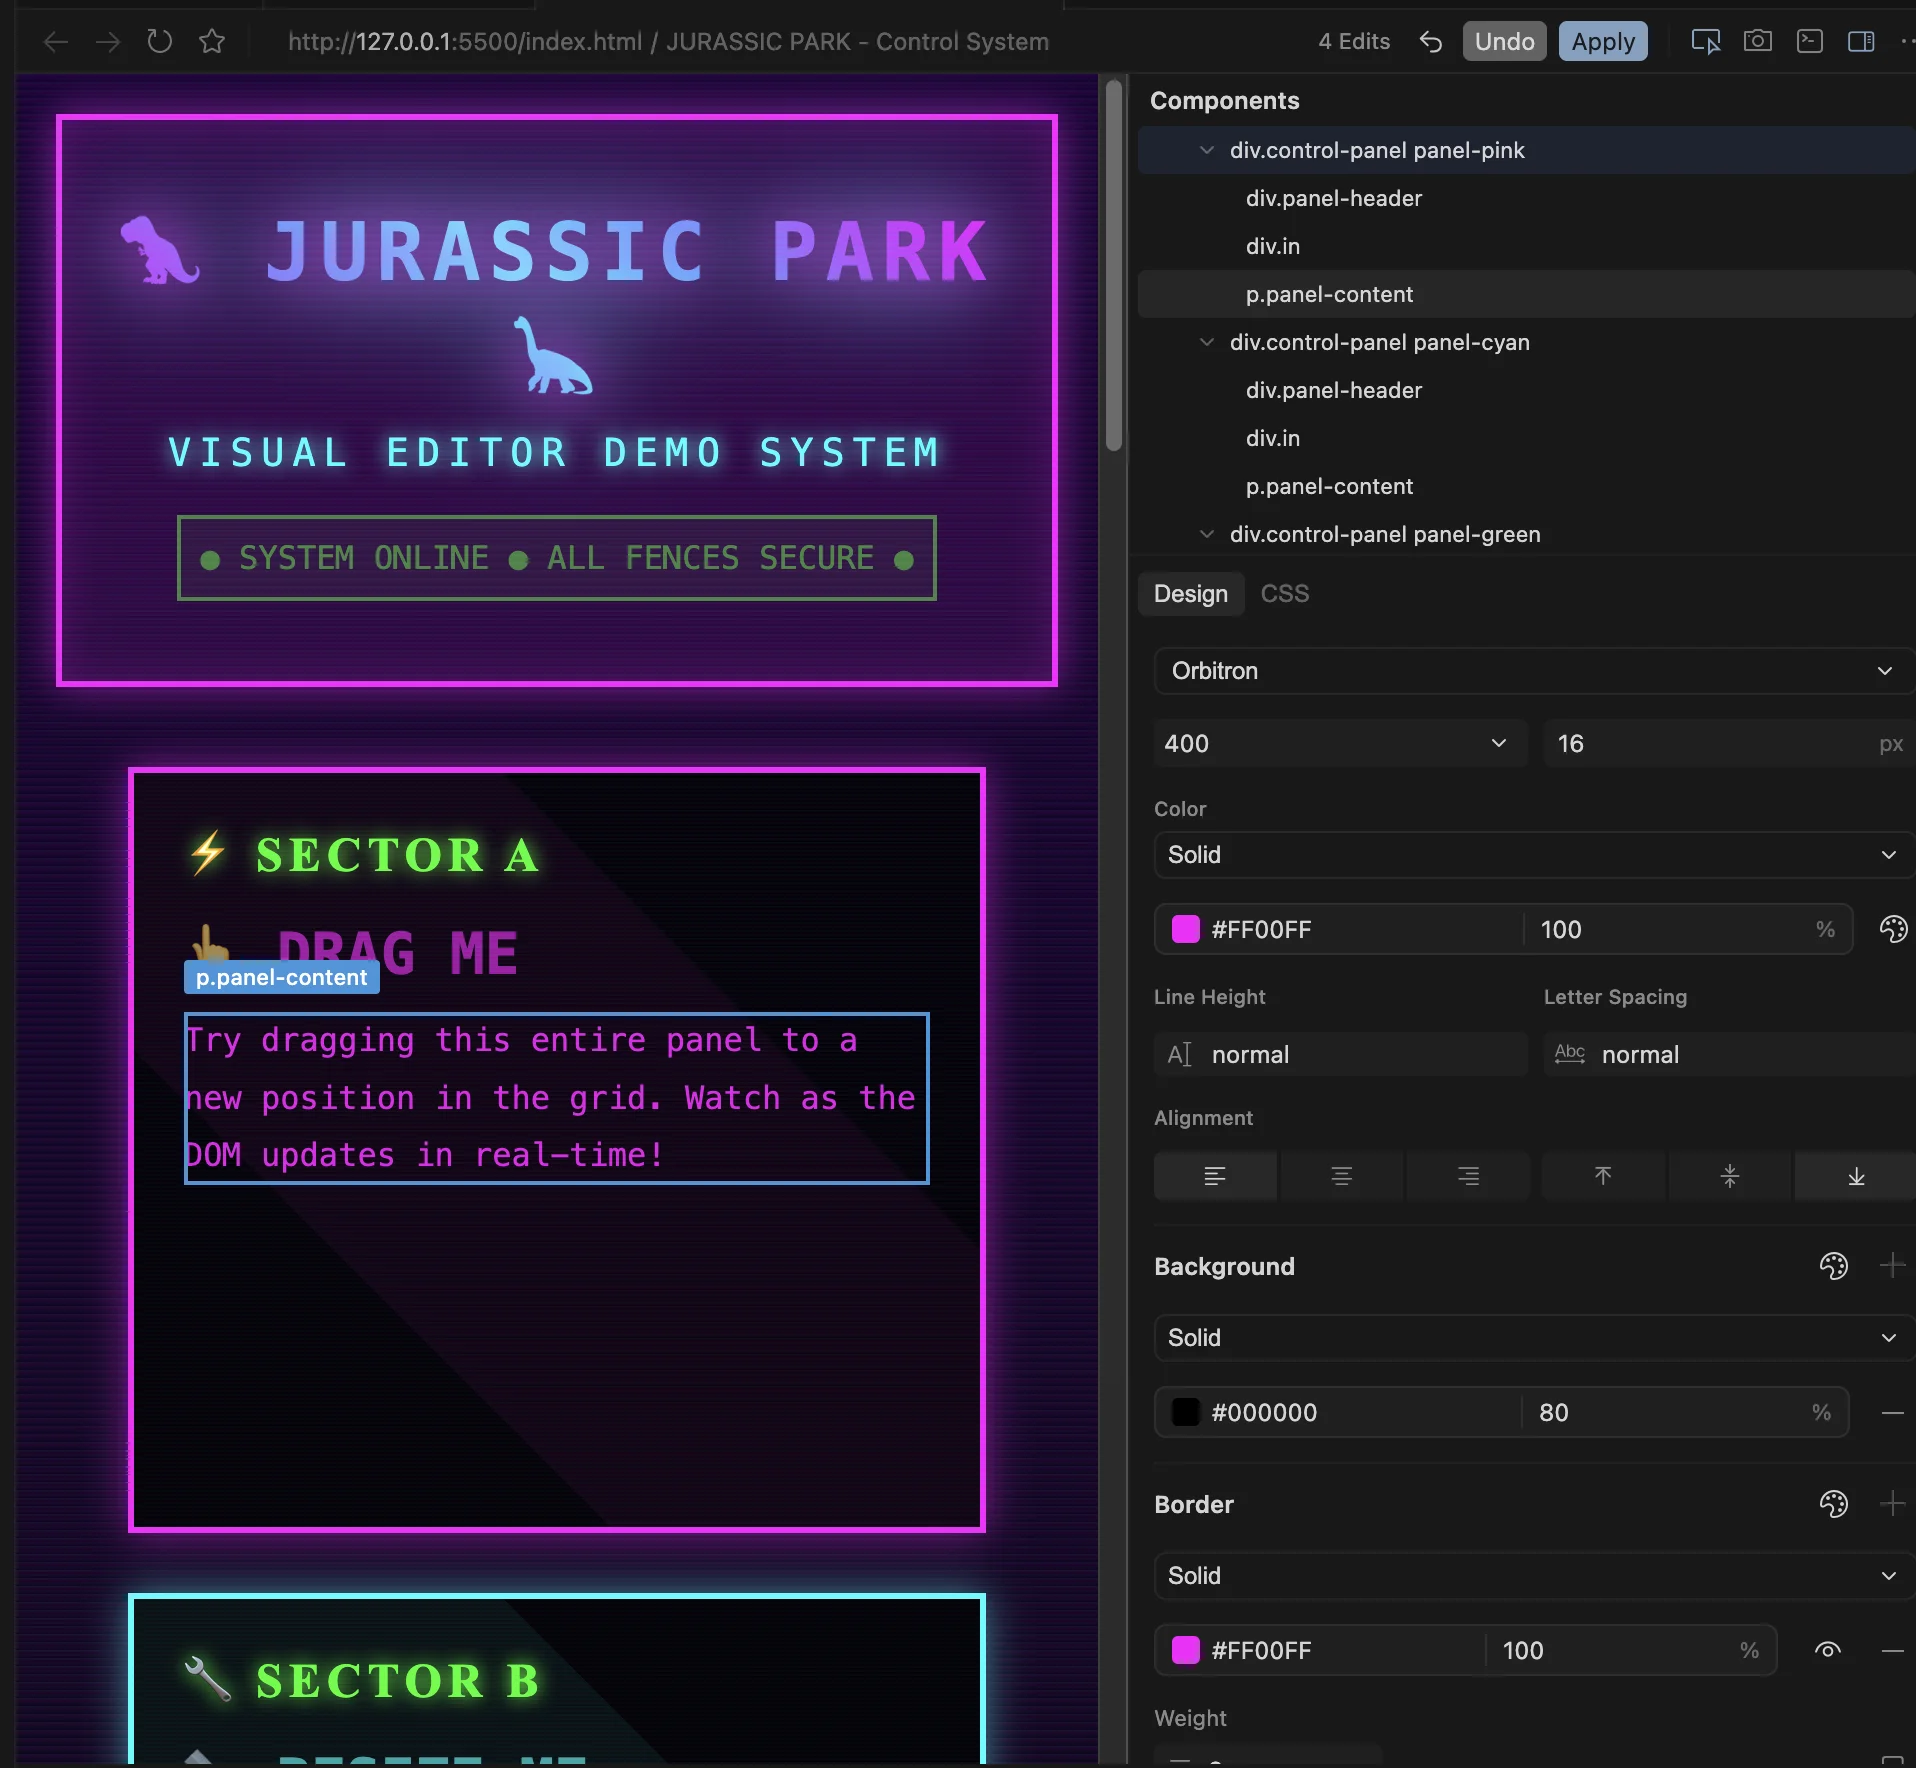
If you are unsure how to change something, describe the change in the agent chat. The selected element will already be linked to your request.
Step 5. Apply changes to your code
After making adjustments, apply the changes.
Cursor will update your CSS or HTML based on your edits.
If you are working with reusable classes, changes will apply across all matching elements. This keeps your design consistent.
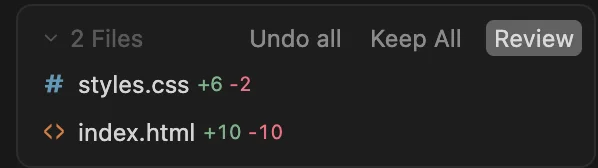
Review the changes and confirm them in the agent panel before saving.
Improve your workflow
- Save changes frequently using version control
- Group styles into reusable classes
- Test changes on multiple elements before applying
You can also extract your color system by asking the agent to define color variables in your CSS file. This helps you maintain a consistent theme across your project.
Result
You reduce context switching between tools. You edit design and code in one place. You move faster while keeping your UI consistent.
Editorial Staff
The Editorial Staff at AIChief is a team of Professional Content writers with extensive experience in the field of AI and Marketing. AIChief was Founded in 2025, AIChief has quickly grown to become the largest free AI resource hub in the industry. Stay connected with them on Facebook, Instagram and X for the latest updates.


