AI Tutorial
Build an Onboarding Workspace Using ChatGPT Projects
Learn how to use ChatGPT Projects to create a private, organized workspace for onboarding employees with shared files, context, and collaboration tools.
Share
This guide explains how to set up a private workspace in ChatGPT Projects to streamline onboarding for new team members.
Who This Is For
- Founders and operations leads organizing SOPs
- Team managers onboarding employees
- Enablement and L&D teams standardizing training
- Advanced users who want a structured, project-based chat history
Projects vs Custom GPTs
A Custom GPT is a single-purpose assistant built for a specific task. For instance, you can create a “copywriting assistant” by defining tone, style, tools, and files, then share it publicly.
A Project, by contrast, is a private workspace with multiple conversations, files, evolving context, and project-specific memory. It also supports collaboration by adding members.
Insight: Projects help maintain structure across conversations, while Custom GPTs can become fragmented over time.
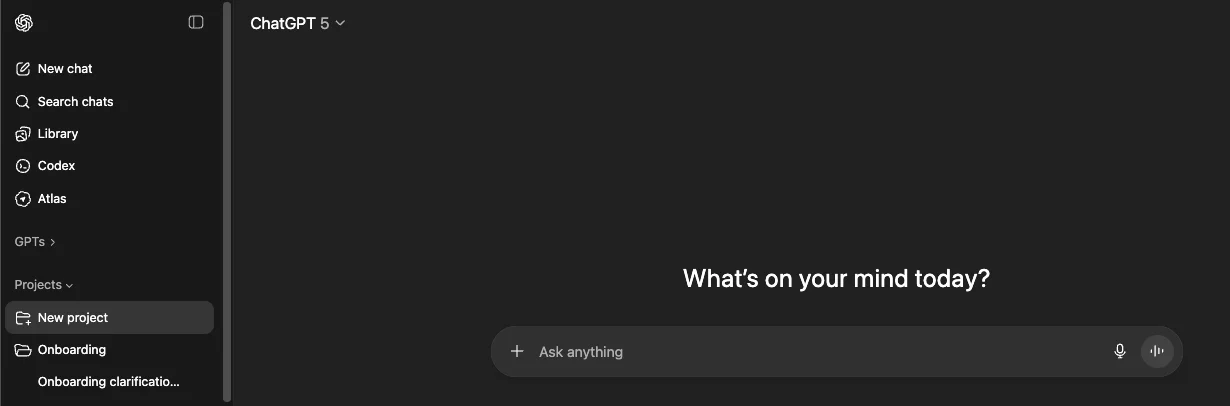
STEP 1: Create a Project
Open ChatGPT and expand the sidebar.
Select “Projects,” then click “New Project.”
Name it (e.g., “Onboarding”).
Choose memory settings:
- Project-only memory for sensitive or collaborative work
- Default memory for individual use
Inside the Project, access familiar tools via the “+” menu, including:
Deep Research, Image generation, Agent mode, Study tools, Web search, Canvas, Dictation, and Voice.
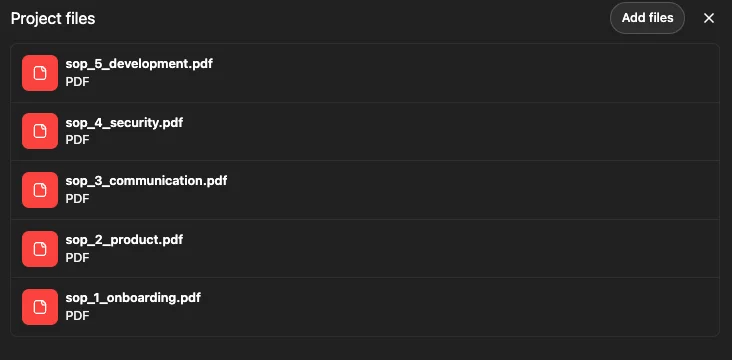
STEP 2: Add Files and Structure Content
Upload key documents such as SOPs and onboarding materials.
Be mindful of context limits:
Too few files reduce clarity, while too many can dilute important information—this balance is often called the “Goldilocks” problem.
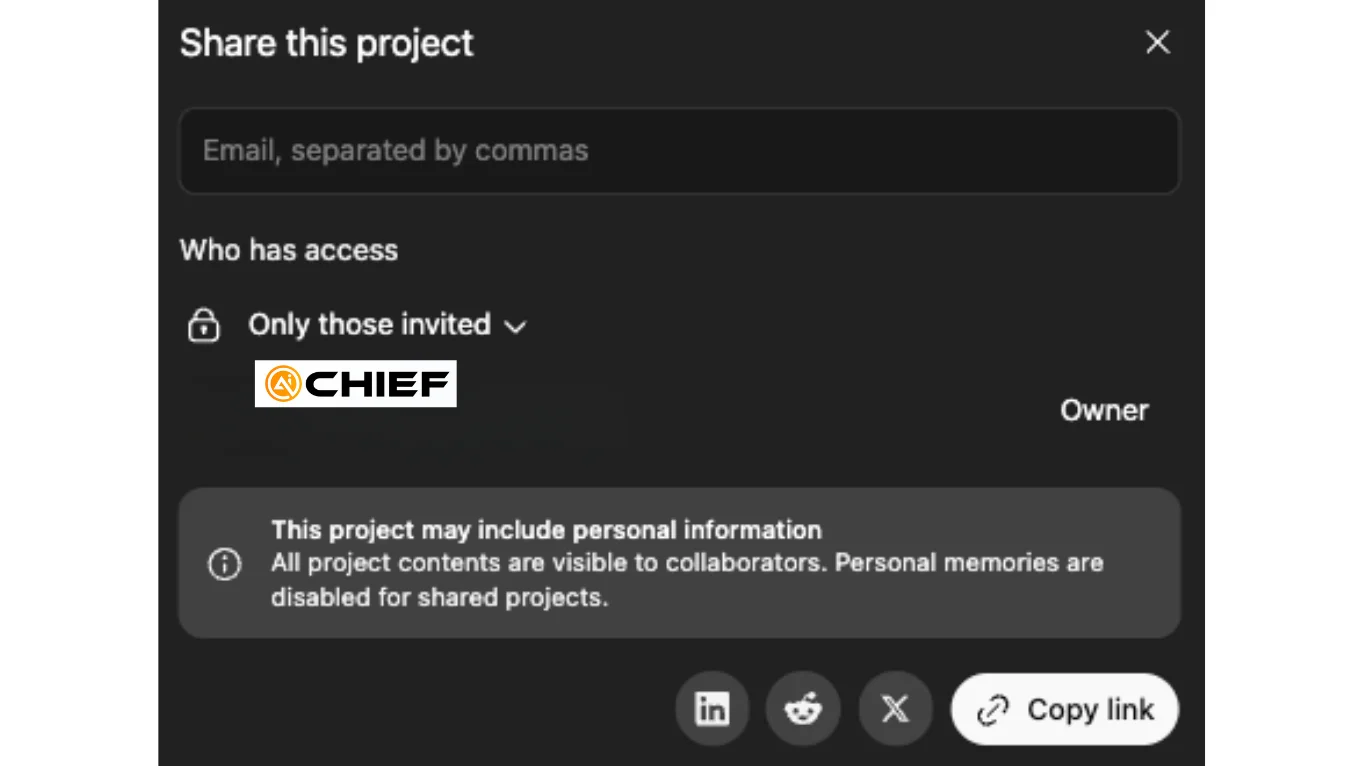
STEP 3: Share the Project
Once your setup is ready and tested, invite the new hire.
Add their email at the Project level.
They’ll enter a fully prepared workspace with files, chats, and context already in place, allowing them to begin immediately.
STEP 4: Use the “Talk-It-Out” Prompting Approach
Use Dictation instead of Voice mode to provide input.
Speaking is faster than typing, dictating prompts, reviewing responses, and iterating quickly.
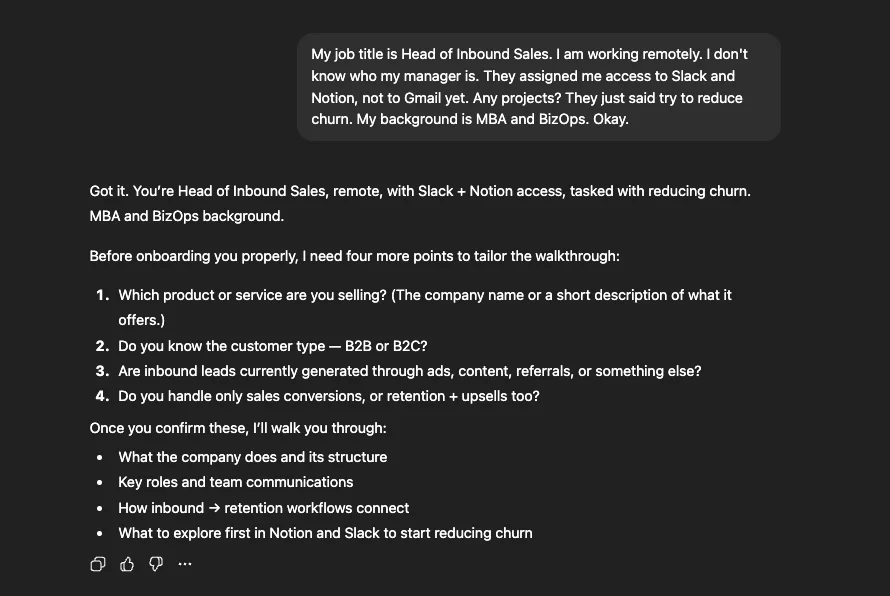
Example Kickoff Prompt:
“I’m a new hire. Role: Head of Inbound Sales. Remote. Slack and Notion access. No Gmail yet. Goal: reduce churn. Background: MBA + BizOps. Do not begin onboarding yet; ask clarifying questions first.”
This approach improves response quality by encouraging the AI to gather context before acting.
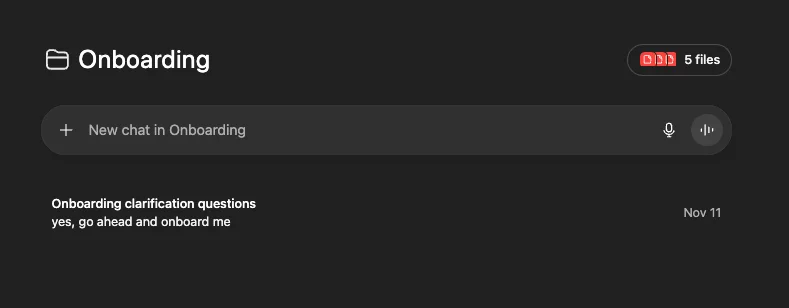
STEP 5: Onboard Through Conversation
The AI will generate focused responses using the uploaded SOPs.
You can:
- Share chat threads via link
- Move conversations between Projects
- Remove chats if needed
Pro Tip
Use dictation for speed, keep memory limited to the Project when needed, and provide sufficient, but not excessive, context to maintain clarity and performance.
Emily Newton
Emily Newton is an experienced Editor-in-Chief who has spent the last decade sharing her insights on science and technology advances through platforms like IoT for All and DZone. She is deeply interested in showcasing how connected technologies and smart ecosystems transform modern businesses. When she isn’t writing, Emily enjoys walking local trails, playing video games, or curling up with a good book.


