AI Tutorial
Build an Automated Blog Workflow with Gumloop
Learn how to build a fully automated blog content workflow in Gumloop that scrapes articles, extracts SEO keywords, and generates drafts.
Share
In this guide, you’ll learn how to create a content automation workflow in Gumloop that gathers articles, extracts SEO keywords, applies your tone, and generates a blog draft using AI.
Best Suited for:
- Content marketers scaling blog output
- Founders and solo operators with limited writing time
- Agencies producing SEO content for clients
- Teams aligning tone across multiple writers
Step 1: Access Gumloop
Start by opening Gumloop. Sign in or create an account, then click Create Flow from the dashboard to begin building your automation.
Step 2: Add nodes or use a template
Inside the flow builder, you can either build your workflow from scratch or use a pre-built template.
For this setup, use the “Automate Your Blog Posts” template to speed things up. It provides a ready-made structure where you input your blog topic and company domain to trigger the workflow.
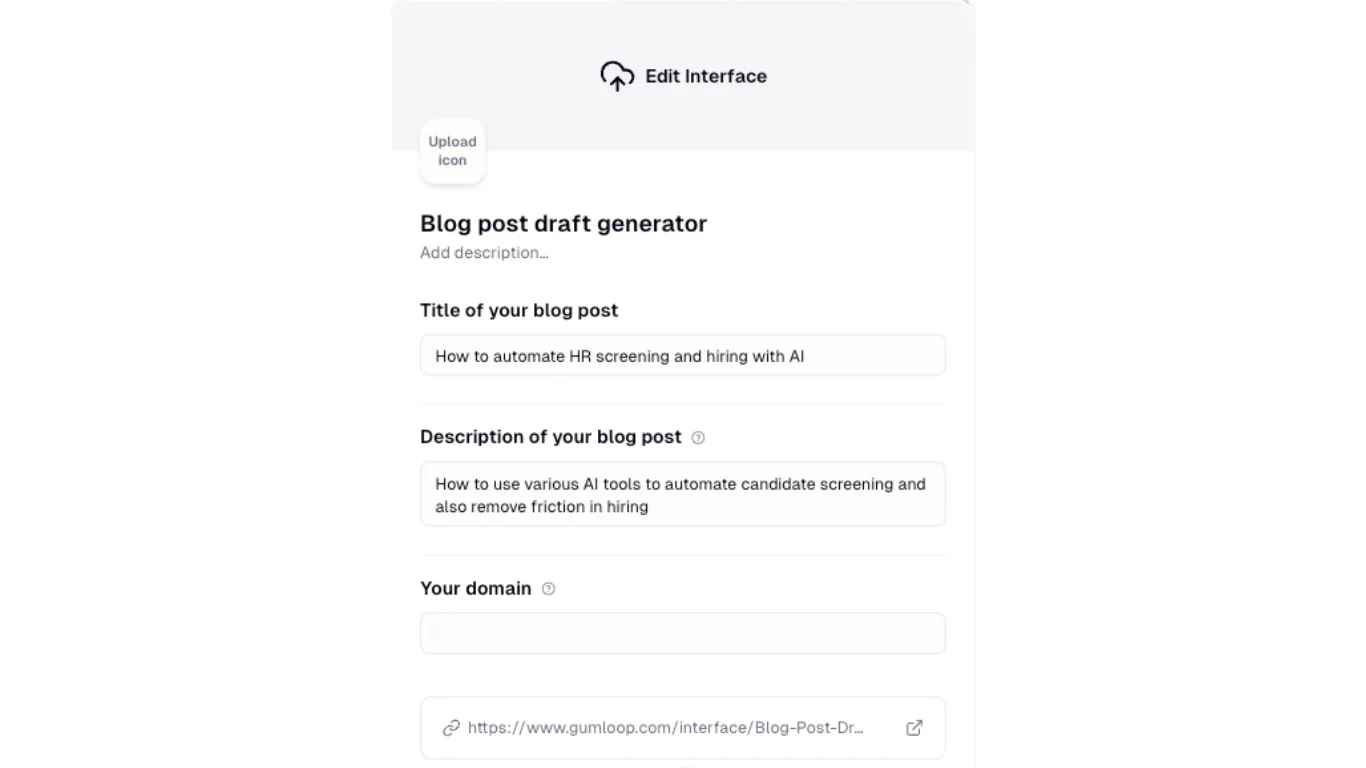
Use the Interface node to define inputs so others can run the flow without needing to understand the backend.
Step 3: Configure nodes with your inputs
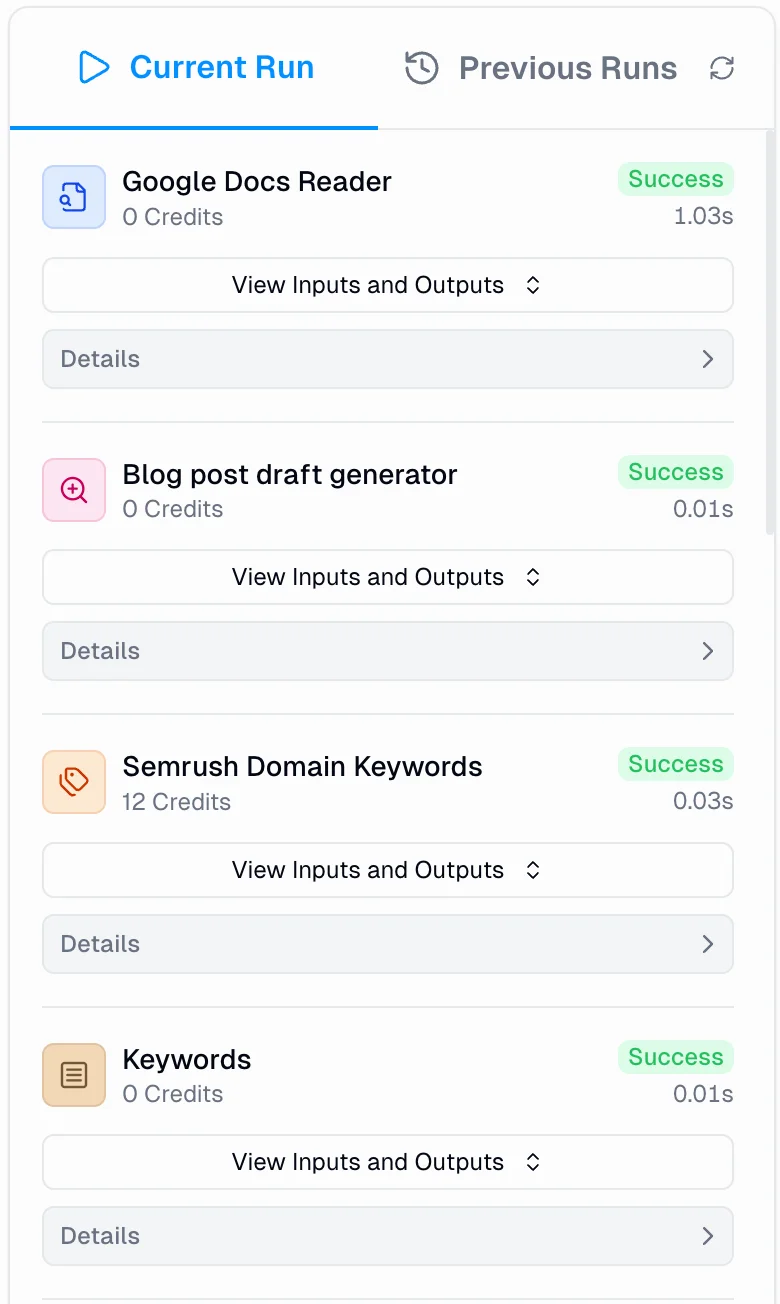
Once inputs are set, configure each node in the workflow:
- Web Search Node: Finds top-performing articles for your topic
- Website Scraper Node: Extracts full content from selected URLs
- Google Docs Reader: Loads your tone/voice document (requires permission)
- Semrush Node: Pulls ranking keywords for your domain
- Join List Node: Combines articles and keyword data into usable text
- Ask AI Node: Generates your blog post using an LLM of your choice
- Google Docs Writer: Exports the draft into a shareable document
- Output Node: Displays the final document link in the interface
Adjust your AI prompt to match your needs:
- Word count
- SEO usage
- Tone and structure
- Output format (full draft, outline, or sections)

Step 4: Review and finalize your draft
After running the workflow, the Output Node will display a Google Docs link. Open it to review your generated blog post.
Edit, refine, share, or publish as needed.
Pro Tip
Test different prompt styles and AI models such as Claude, ChatGPT, or Grok to match your desired tone and quality.
Editorial Staff
The Editorial Staff at AIChief is a team of Professional Content writers with extensive experience in the field of AI and Marketing. AIChief was Founded in 2025, AIChief has quickly grown to become the largest free AI resource hub in the industry. Stay connected with them on Facebook, Instagram and X for the latest updates.


