AI Tutorial
Build an AI Agent to Manage and Respond to Email Support Tickets
Learn how to create an AI agent that categorizes incoming emails, drafts responses, and alerts your team automatically using Zapier Agents and integrations.
Share
This guide explains how to set up an AI agent that reviews incoming emails, sorts them into categories (spam, support, feedback, etc.), and automatically drafts replies while notifying relevant team members in Slack.
Who Can Benefit from This:
- Customer support teams handling high ticket volumes
- Small business owners managing multiple inquiries
- Anyone looking to automate and organize a busy inbox
STEP 1: Set Up Your Zapier Agents Account
Go to Zapier Agents and sign in using existing Zapier credentials. After logging in, click “New Agent” in the top-left corner.
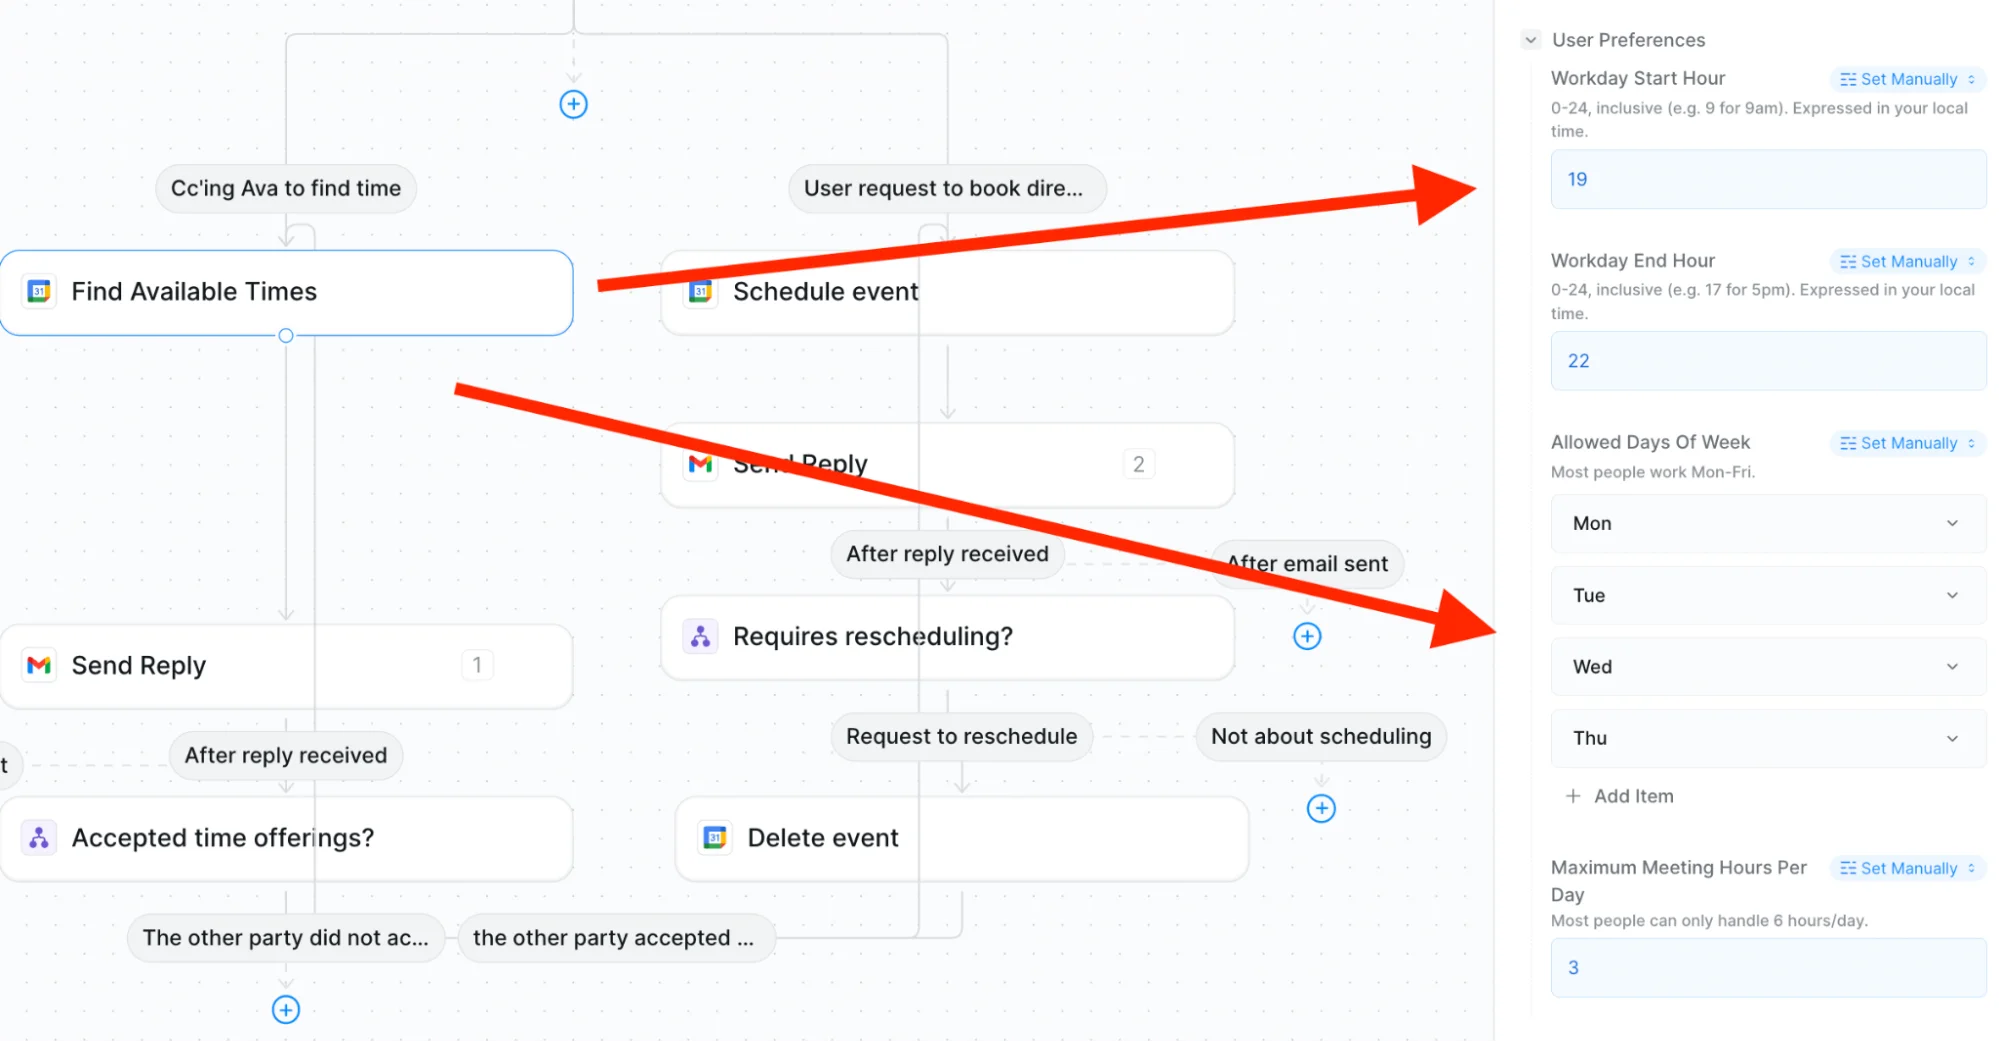
Give the agent a clear name, such as “Email Triage Assistant”. Configure it to run on a scheduled basis (e.g., once daily at 9 AM) instead of real-time triggers to efficiently batch process emails and reduce unnecessary task usage.
STEP 2: Create the Email Classification Workflow
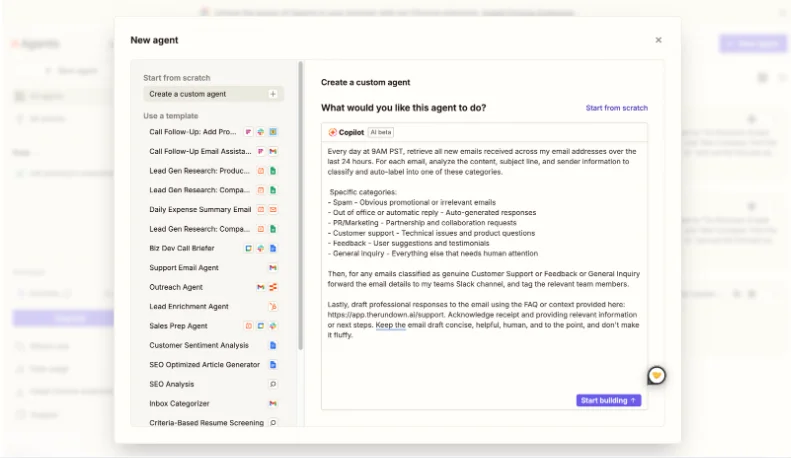
Within the agent setup, open Copilot and enter a prompt like this:
Retrieve all emails received in the last 24 hours across connected inboxes. For each message, analyze the subject, content, and sender to classify it into one of the following categories:
- Spam: Irrelevant or promotional messages
- Out-of-office / auto-reply: Automated responses
- PR/Marketing: Collaboration or partnership requests
- Customer support: Product issues or technical questions
- Feedback: Suggestions or testimonials
- General inquiry: Messages requiring manual review
For emails labeled as Customer Support, Feedback, or General Inquiry, send the details to a Slack channel and notify the appropriate team members.
Then generate a concise, professional reply using the provided FAQ or documentation [X], acknowledging receipt and outlining next steps. Keep responses clear, helpful, and direct.
Note: Replace [X] with links or content from your support documentation or FAQ.
STEP 3: Define Team Notification Rules
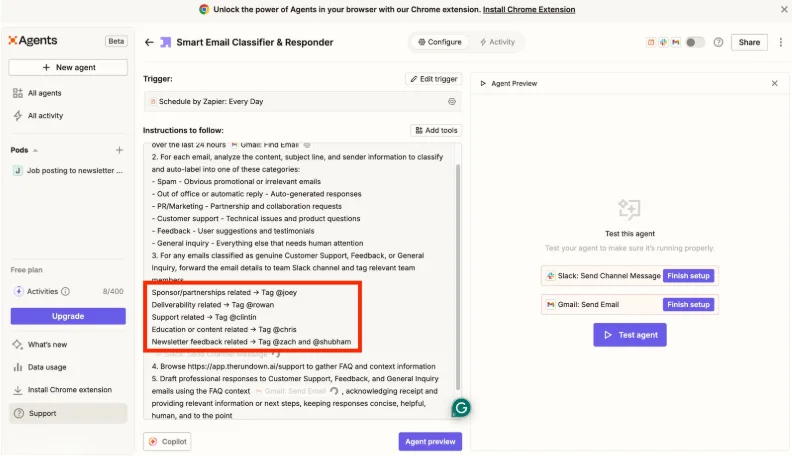
After the agent is generated, configure logic for tagging team members based on email type within Slack.
Example mapping:
- Sponsorship or partnerships: Tag @joey
- Deliverability issues: Tag @rowan
- Support-related queries; Tag @clintin
- Education or content: Tag @chris
- Newsletter feedback: Tag @zach and @shubham
Adjust these rules to match team roles and responsibilities.
STEP 4: Connect Required Integrations
Click “Add tools” and link essential services:
- Gmail (or another email provider)
- Slack for notifications
- FAQ pages or documentation sources for the response context
Grant the necessary permissions so the agent can run independently without manual approvals.

STEP 5: Test and Launch the System
Run a test using current inbox data to validate classification accuracy. Check that email categories, team mentions, and drafted responses align with expectations.
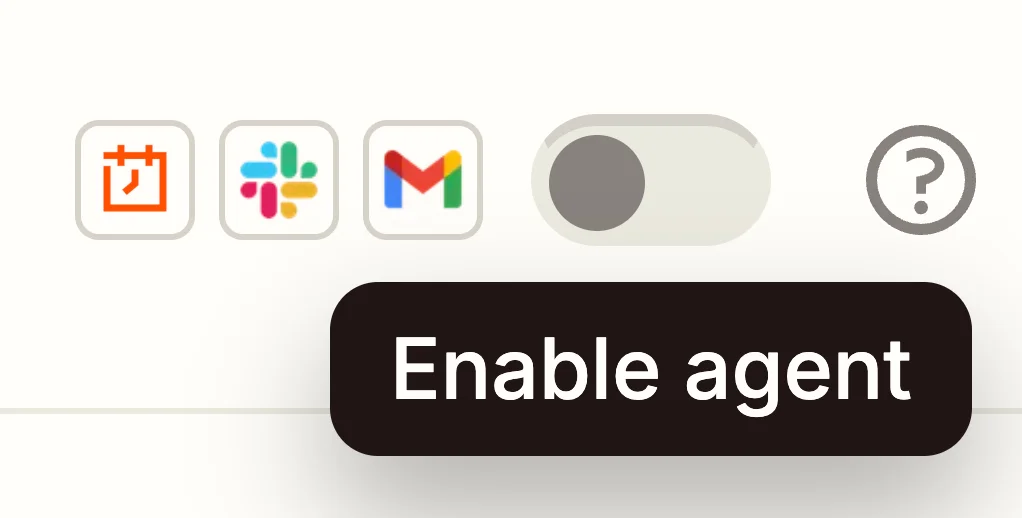
Once verified, activate the scheduled run (e.g., daily at 9 AM). The agent will begin organizing emails, notifying team members, and preparing responses automatically.
Pro Tip
Providing richer context improves results. Include FAQ links, internal docs (e.g., Notion), and past support conversations so the agent can generate more accurate responses and route issues effectively.
Editorial Staff
The Editorial Staff at AIChief is a team of Professional Content writers with extensive experience in the field of AI and Marketing. AIChief was Founded in 2025, AIChief has quickly grown to become the largest free AI resource hub in the industry. Stay connected with them on Facebook, Instagram and X for the latest updates.


