AI Tutorial
Build a 30-Day Execution Plan with Manus 1.5
Learn how to use Manus 1.5 to build a structured 30-day execution plan and export it to Google Calendar for consistent progress.
Share
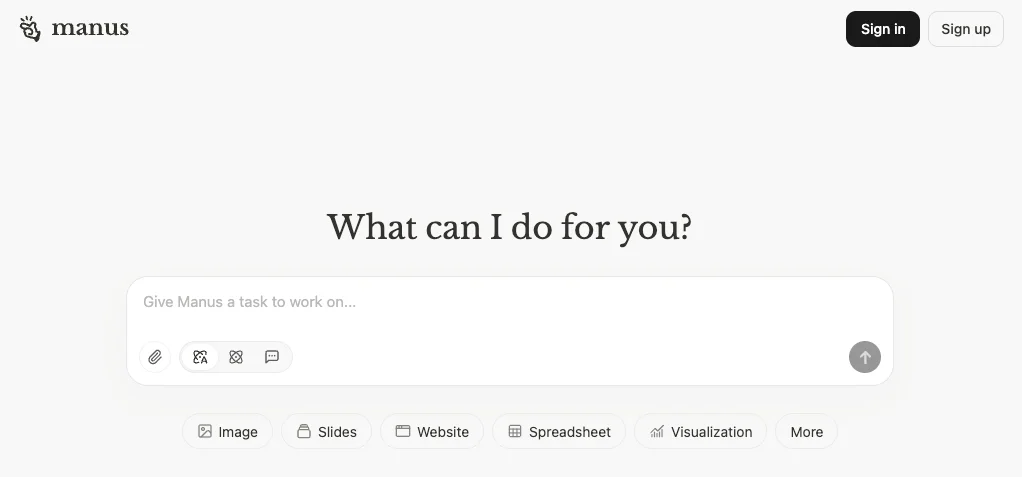
This guide shows how to generate a 30-day execution plan using Manus 1.5 and export it as an .ics file for calendar integration. The focus is on defining daily inputs that drive consistent results across any goal.
Who This Is For
- Sales reps and founders managing leads in unstructured workflows
- Agency operators handling multiple clients
- Creators and consultants balancing daily responsibilities
- Team leads tracking execution and output consistency
STEP 1: Access Manus Agent Mode
Go to Manus and open the platform.
On the homepage, choose “Agent” instead of standard chat. This enables automated planning and file generation.
STEP 2: Define a Detailed Prompt
With Agent mode active, write a prompt that breaks your goal into daily, measurable actions.
Example Prompt:
- Reverse-engineer a goal (e.g., reaching a monthly revenue target)
- Build a 30-day plan focused on controllable inputs
- Include time-blocked tasks such as outreach, content, calls, and fulfillment
- Categorize tasks by priority (outreach, content, fulfillment, community, planning)
- Balance workload across these categories
- Include recurring commitments like meetings or reporting
- Output a checklist, calendar-ready .ics file, and summary recommendations
Ensure your prompt includes time zone details and clear deliverables.
STEP 3: Generate and Review Outputs
Submit your prompt to run the agent.
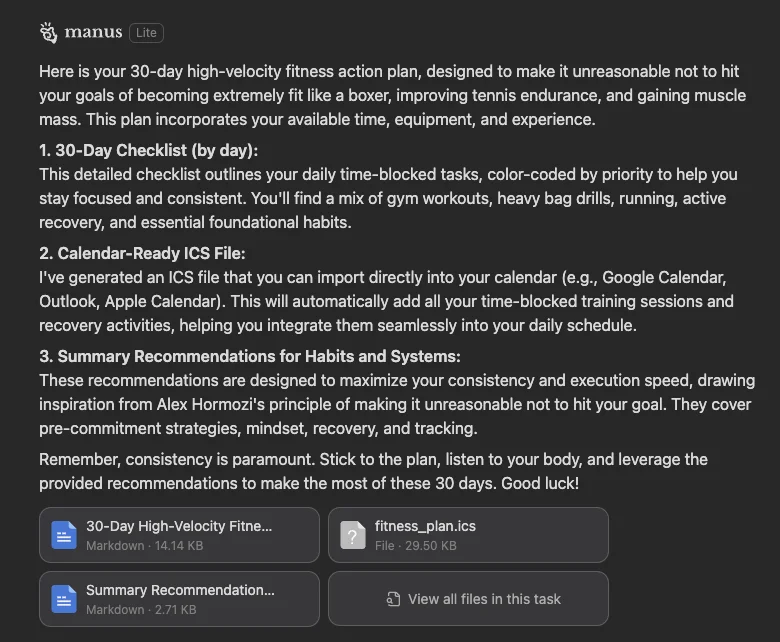
Manus will generate:
- A 30-day execution plan (structured list)
- A checklist of daily tasks
- An .ics calendar file
- A summary with recommended habits, time blocks, and quotas
Review the outputs to confirm alignment with your schedule and goals.
STEP 4: Import into Google Calendar
Download the .ics file and import it into Google Calendar:
- Open Google Calendar
- Click “+” next to “Other calendars”
- Select “Import”
- Upload the .ics file and choose your calendar
- Confirm to add all scheduled events
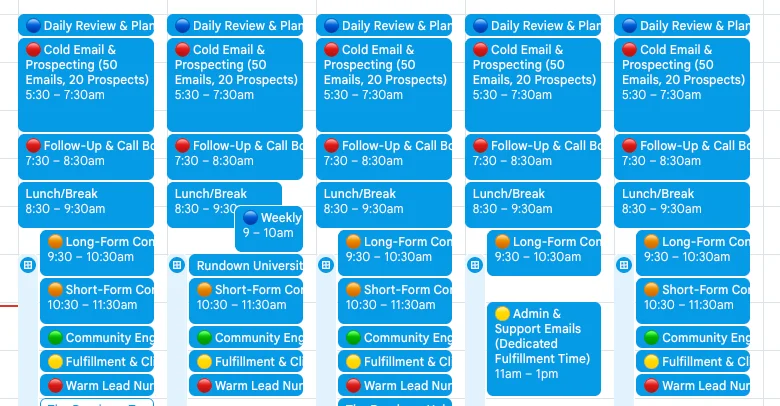
Your calendar will now display time-blocked tasks organized by priority.
Pro Tip
Adjust your inputs and regenerate the plan as needed. Fine-tuning daily quotas and time blocks ensures the schedule fits your workflow and maximizes results.
Editorial Staff
The Editorial Staff at AIChief is a team of Professional Content writers with extensive experience in the field of AI and Marketing. AIChief was Founded in 2025, AIChief has quickly grown to become the largest free AI resource hub in the industry. Stay connected with them on Facebook, Instagram and X for the latest updates.


