AI Tutorial
Boost Your Coding Output with OpenAI Codex
Learn how to use OpenAI Codex in your IDE and the cloud to boost coding productivity, automate reviews, and work from anywhere.
Share
This tutorial explains how to set up Codex in an IDE and use it in the cloud from your phone. You’ll also learn how to configure an agent that reviews your code automatically.
Who This Helps
- Developers who want AI coding assistance without heavy terminal use
- ChatGPT Plus/Pro users who haven’t explored Codex yet
- Anyone interested in AI-powered coding agents
What You’ll Build
A Codex-powered workflow where you connect it to a project, generate an AGENTS.md configuration file, use slash commands, and enable automated code reviews.
Getting Started
- A ChatGPT Plus account ($20/month)
- Cursor or another supported editor (VS Code, Windsurf, etc.)
- A GitHub account (optional)
Step 1: Select Your Codex Version
Codex is available in three formats:
- CLI version for terminal use
- Cloud version via browser
- IDE extension with a built-in chat interface
This guide uses the Cursor extension, which separates the agent chat from the terminal for a cleaner workflow.
Go to the Codex quickstart page and install the version for your IDE.
Step 2: Set Up Your Codex Project
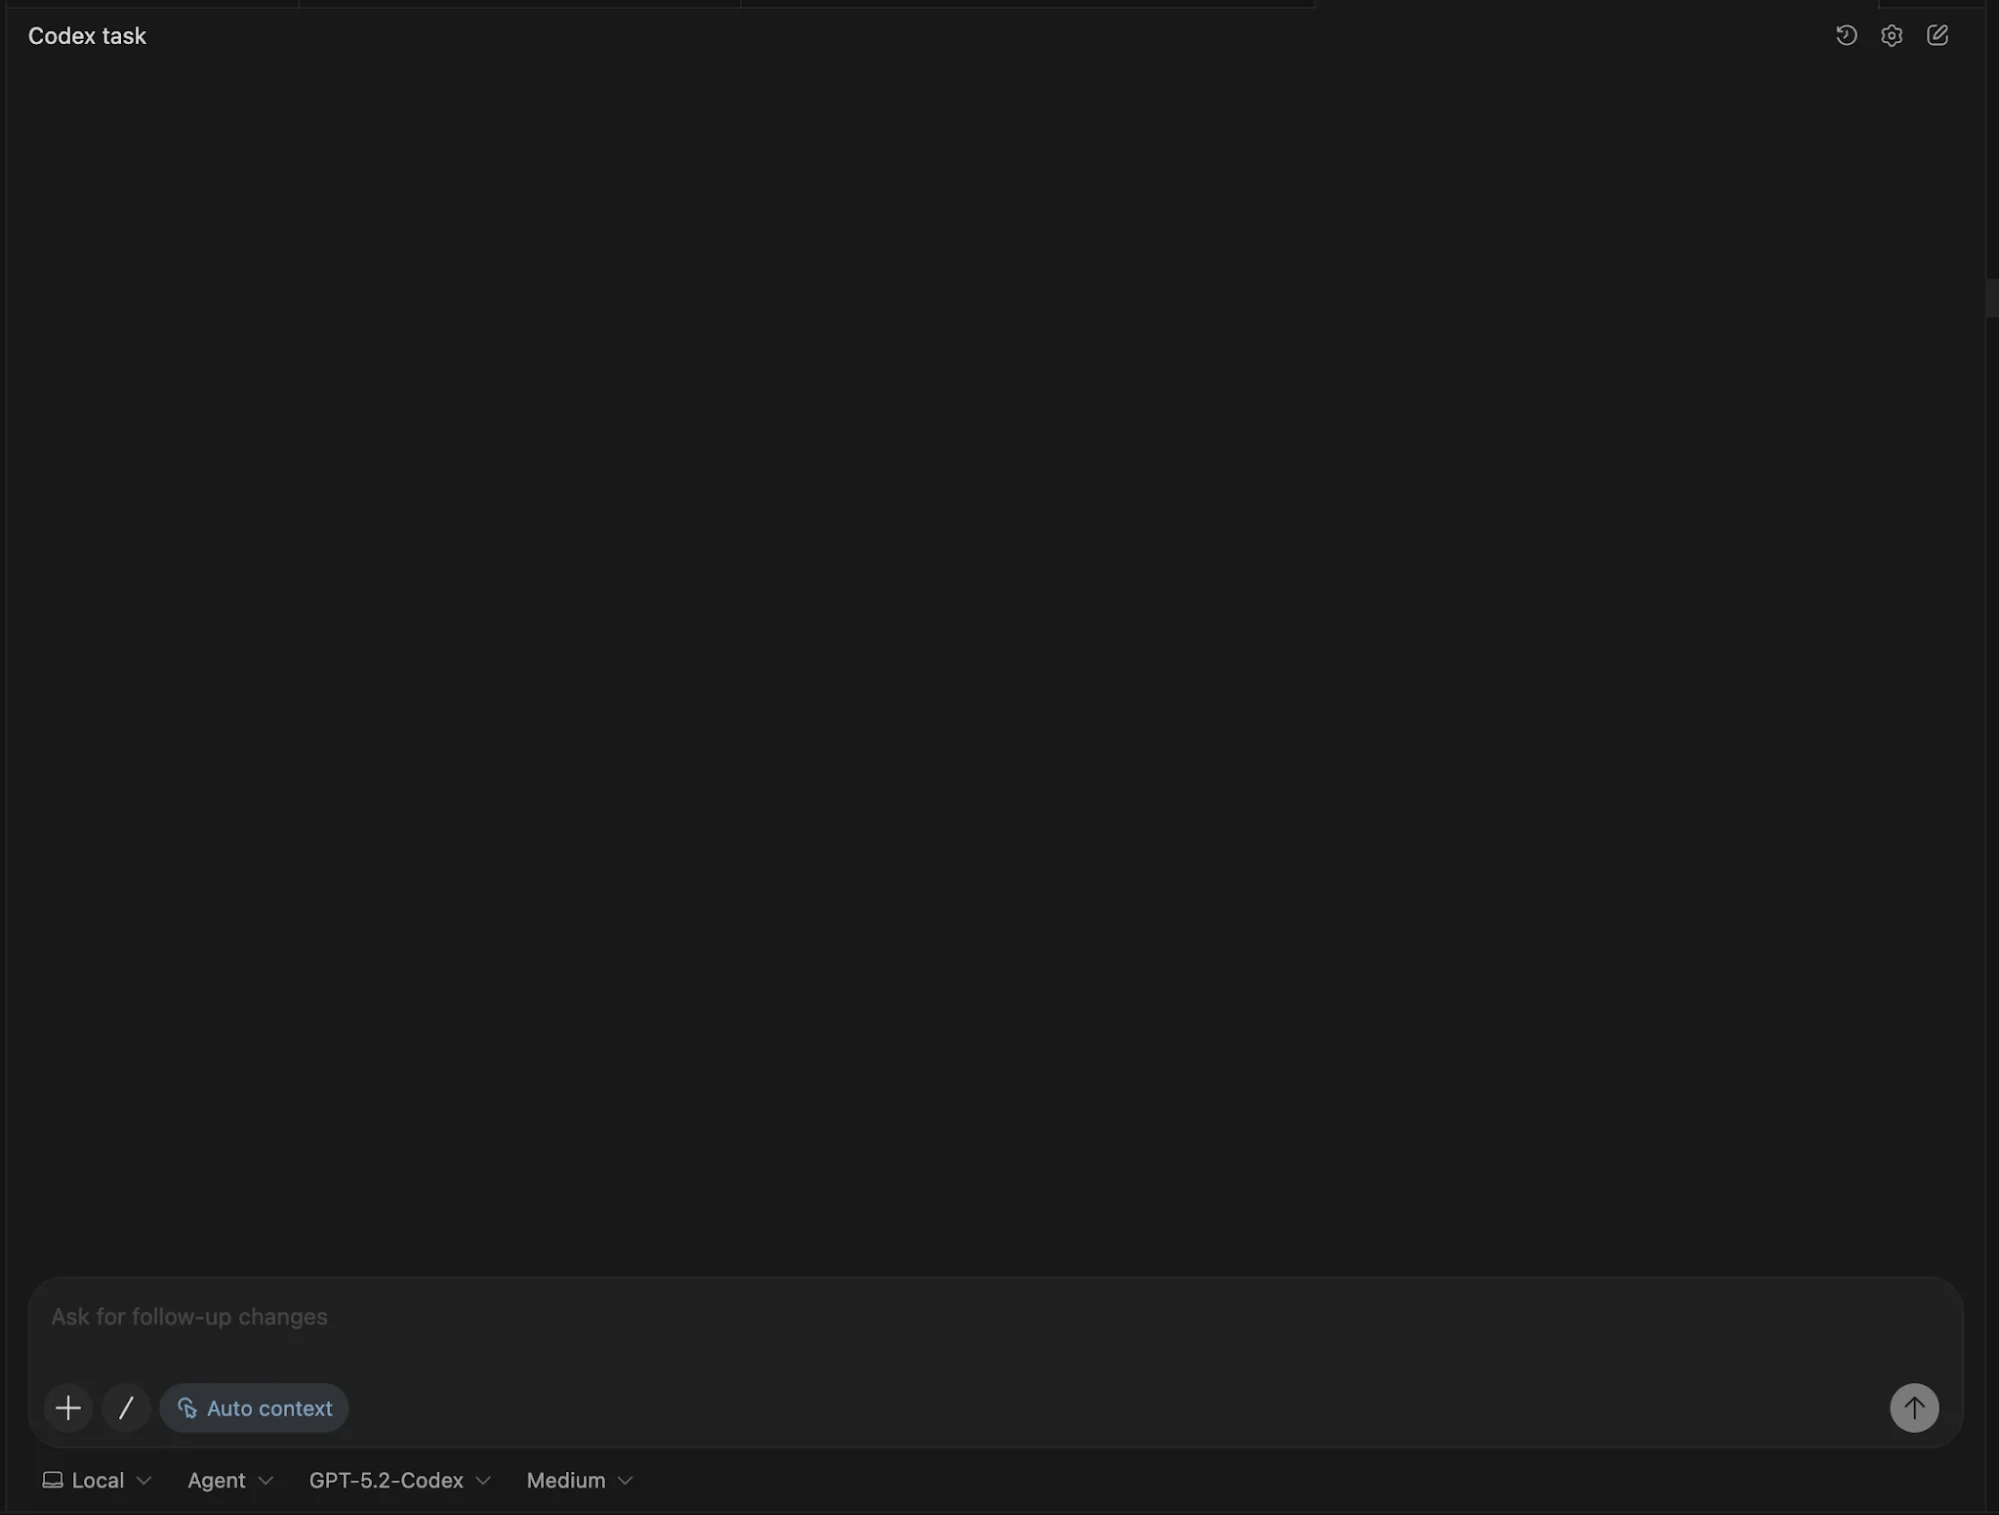
Open a project in Cursor. Press CMD + Shift + P, search for Codex, and select New Codex Agent.

A new window will open for your agent.
Ask the agent to generate an AGENTS.md file based on your project files. If starting fresh, provide a PRD or spec instead.
After the file is created, initialize Git and make a commit if you haven’t already.
Step 3: Use Slash Commands
Open the slash menu to view available commands. Key commands include:
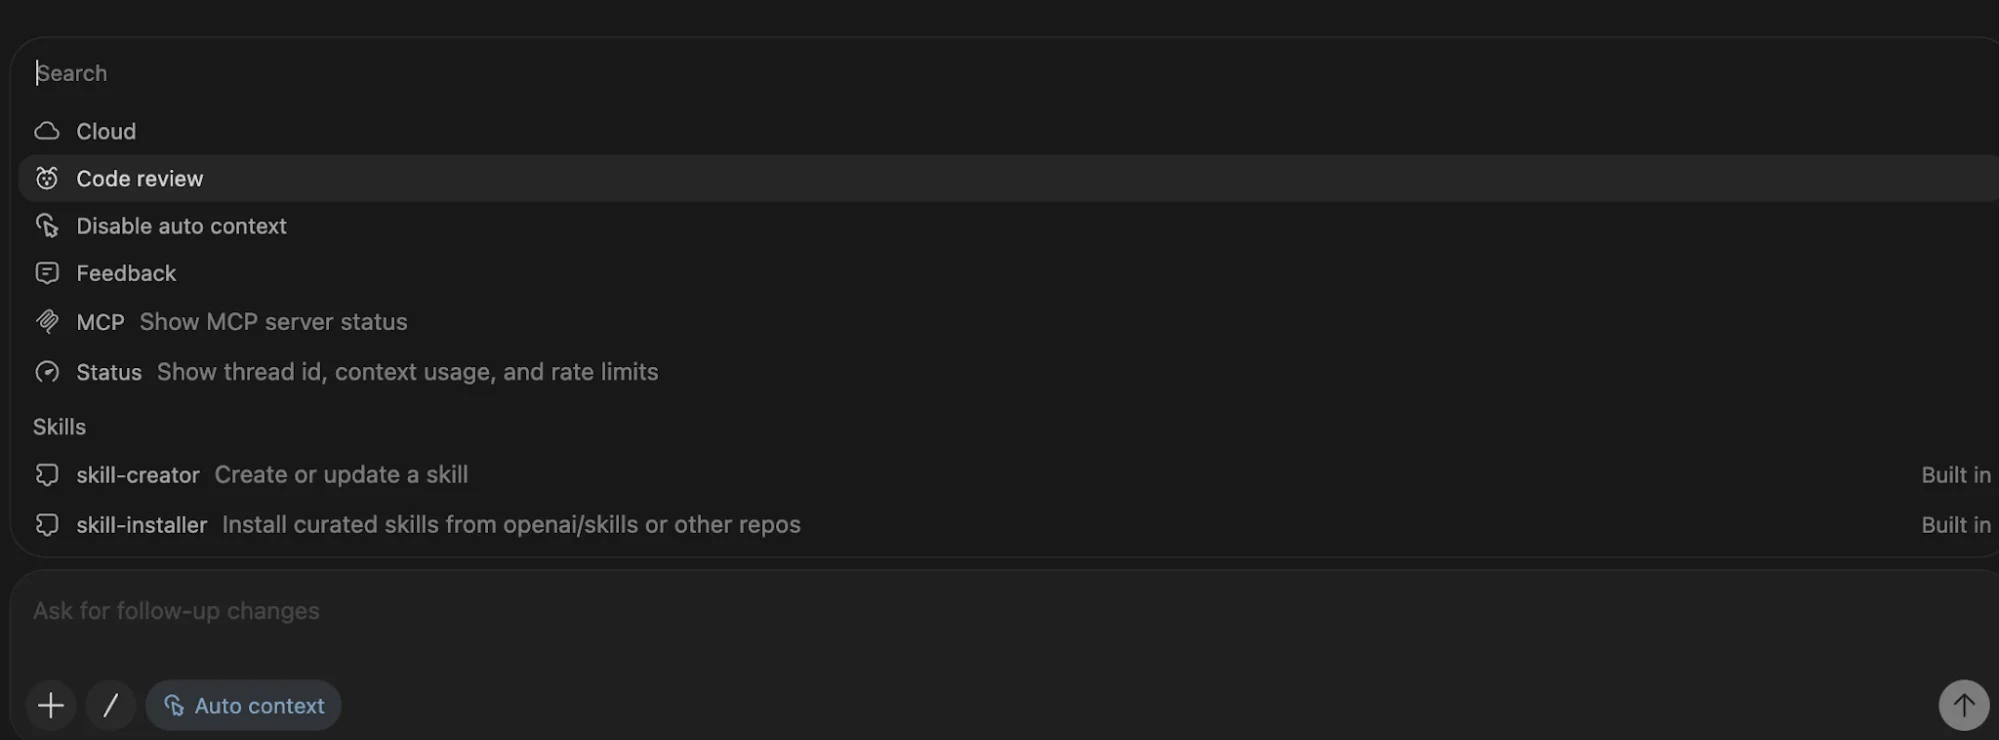
- /review for quick code feedback
- /status to check context and usage limits
- /mcp to view connected MCP servers
- /context to toggle automatic context from recent files
Refer to official documentation for the full list.
Step 4: Run Codex in the Cloud
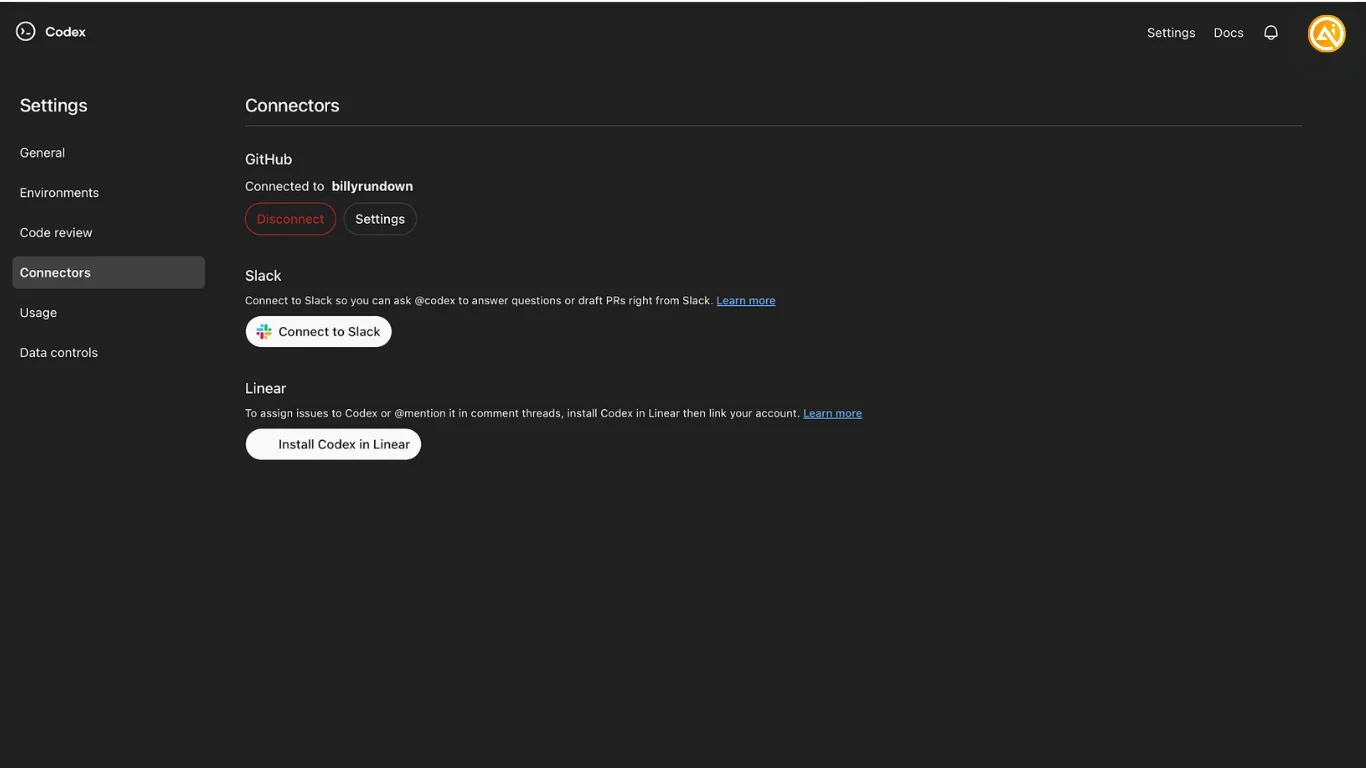
Go to the Codex connector settings page and link your GitHub account.
This allows Codex to access repositories and create pull requests. Tasks run in isolated cloud environments, so your local system isn’t affected.
You can now use Codex from anywhere by opening the cloud interface, selecting a repository and branch, and entering a prompt.
You can also configure project environments to include API keys or enable web access.
Step 5: Enable Automatic Code Reviews
Open the Codex code review settings page.
Turn on automatic reviews for new pull requests and enable the “Review my PRs” option for your repository.
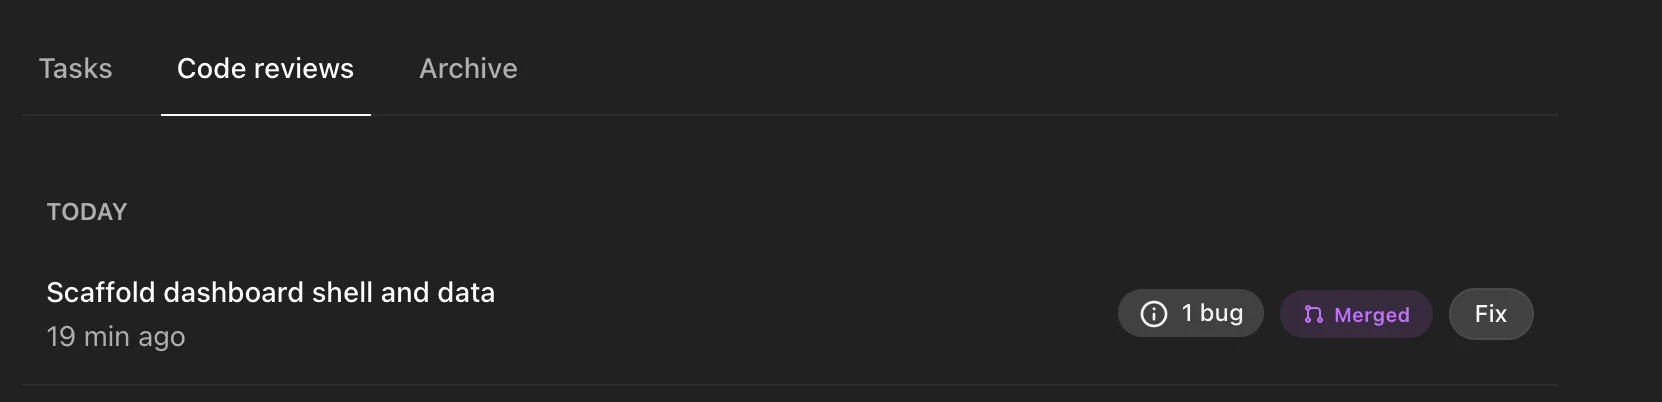
Once enabled, Codex will automatically review each pull request you create.
Going Further
Token Optimization Tip
Cloud-based Codex usage does not count toward your local usage limits. To optimize usage:
- Write code locally using Codex in your IDE
- When finished, instruct Codex to commit changes, create a new branch, and open a pull request
- Let the cloud agent review your pull request automatically
You can track this process through GitHub’s interface.
Emily Newton
Emily Newton is an experienced Editor-in-Chief who has spent the last decade sharing her insights on science and technology advances through platforms like IoT for All and DZone. She is deeply interested in showcasing how connected technologies and smart ecosystems transform modern businesses. When she isn’t writing, Emily enjoys walking local trails, playing video games, or curling up with a good book.


