AI Tutorial
Never Lose Your Coding Flow Again Using Git
Learn how to use Git to track and save your coding progress, avoid losing work, and manage projects efficiently with essential commands.
Share
In this walkthrough, you’ll learn how to keep your coding progress safe with Git. We’ll cover eight essential commands and create your first commit.
Who This Is For
- Self-taught developers who skipped formal CS training
- Claude users looking to save tokens
- Cursor users who want to retain their work
What You’ll Create
- A basic Git-enabled project with version tracking
Getting Started Requirements
- A computer with terminal/command line access
- A code editor or IDE (we use Cursor)
Step 1: Install Git
Go to git-scm.com.
- On Windows: download and run the installer
- On Mac: install via Homebrew
Both Homebrew and Git are safe, open-source tools with long-standing use.
To confirm installation, run:
git --version
Step 2: Initialize Git in Your Project
Open your editor and create a new folder with a simple HTML file (or use a sample).
Start a terminal in your editor and run:
git init
This enables change tracking in your project.
💡 Tip: Ask your AI coding assistant to generate a README.md explaining your project—it’s useful when uploading to GitHub.
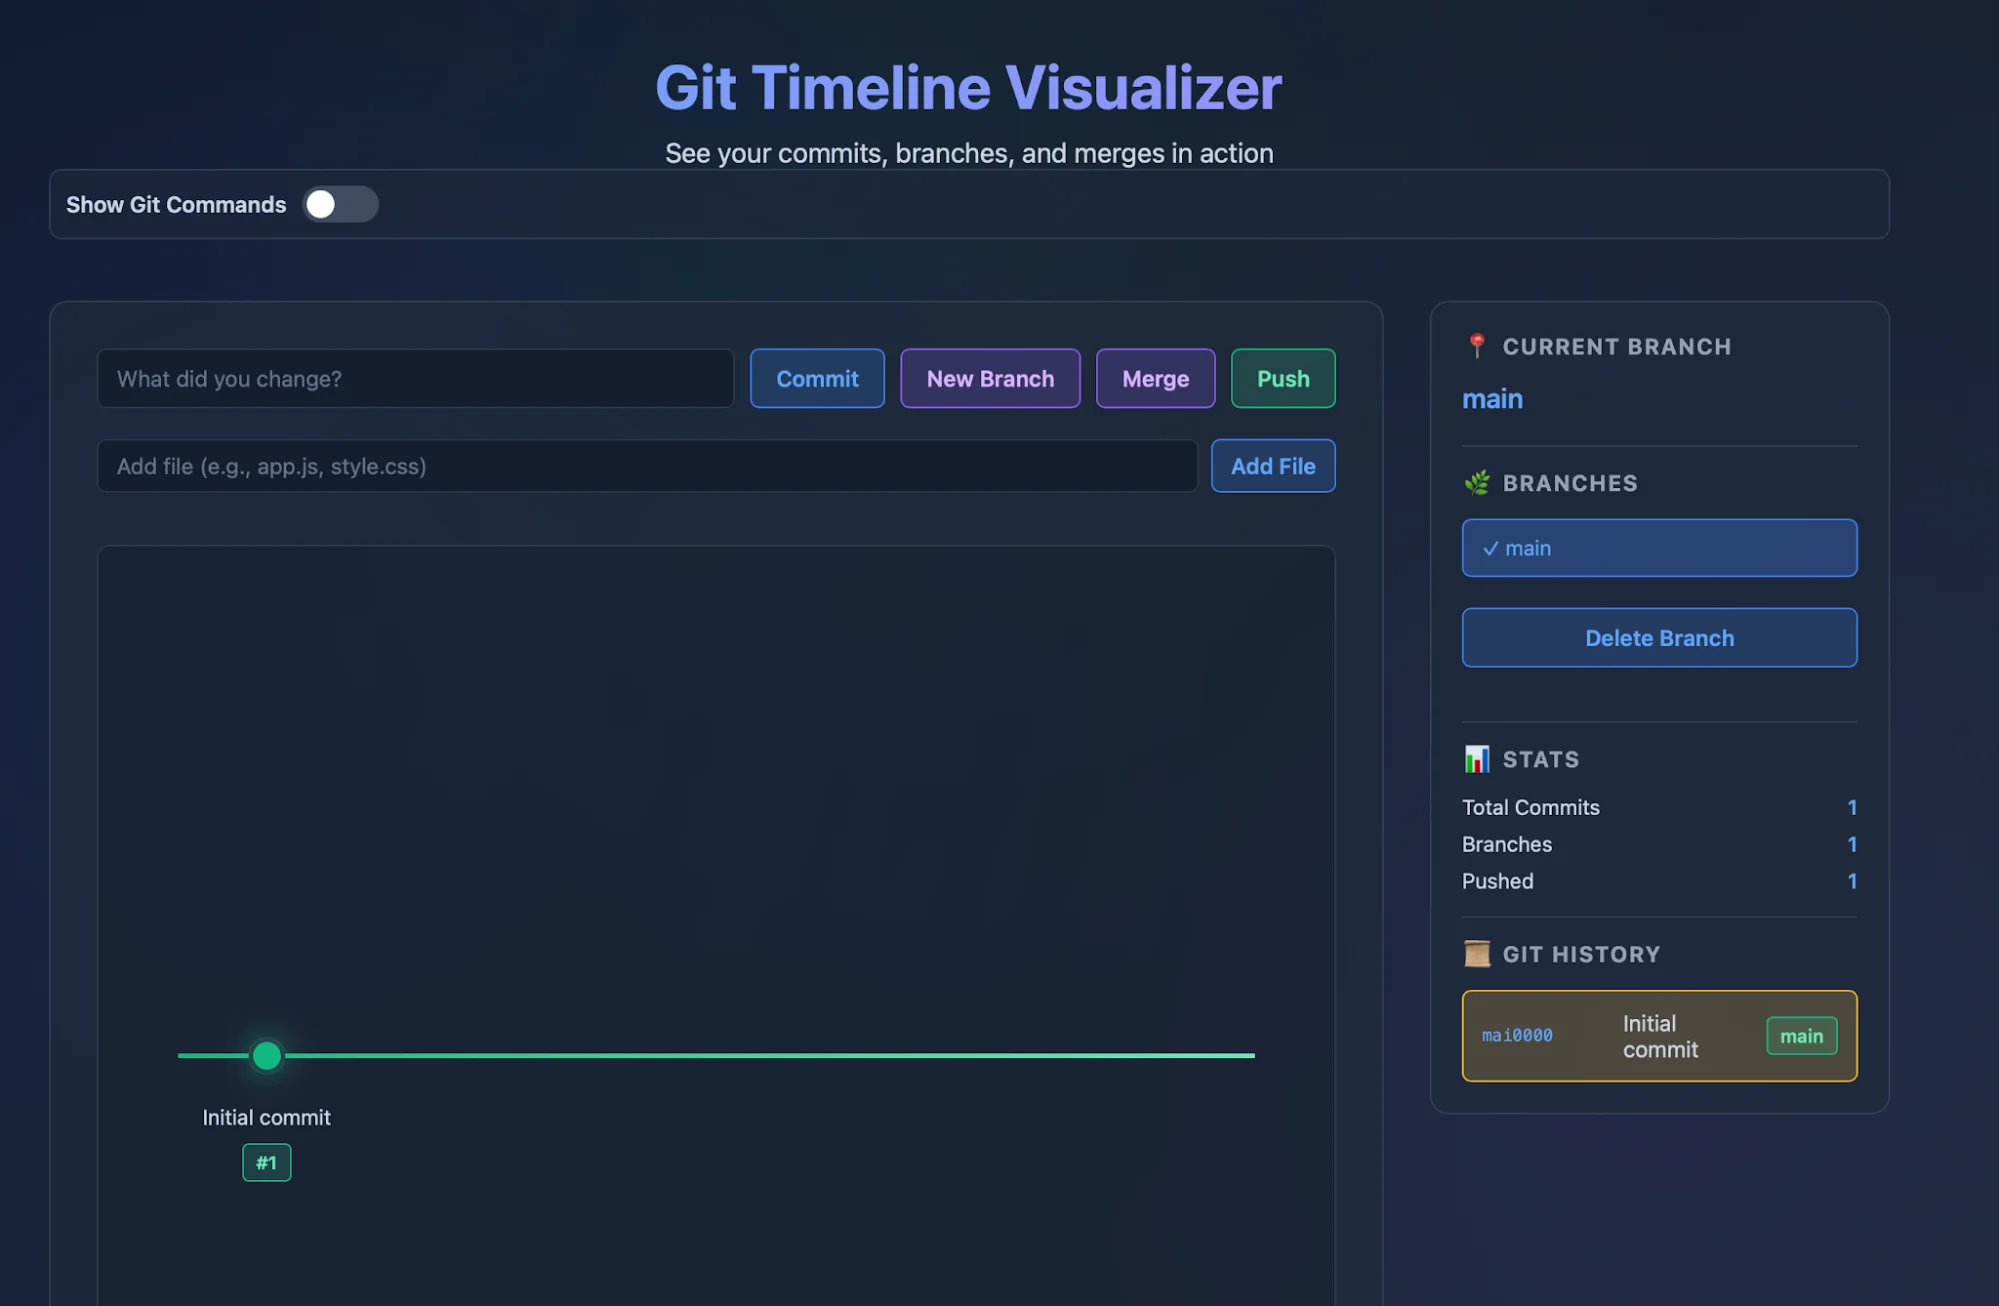
Step 3: Make Your First Commit
A commit is a saved snapshot of your code. Each one includes:
- A unique ID (e.g., abc1234def5678)
- A message describing changes
- The author
- A timestamp
First, stage your changes:
git add .
Then create a commit:
git commit -m 'first commit!'
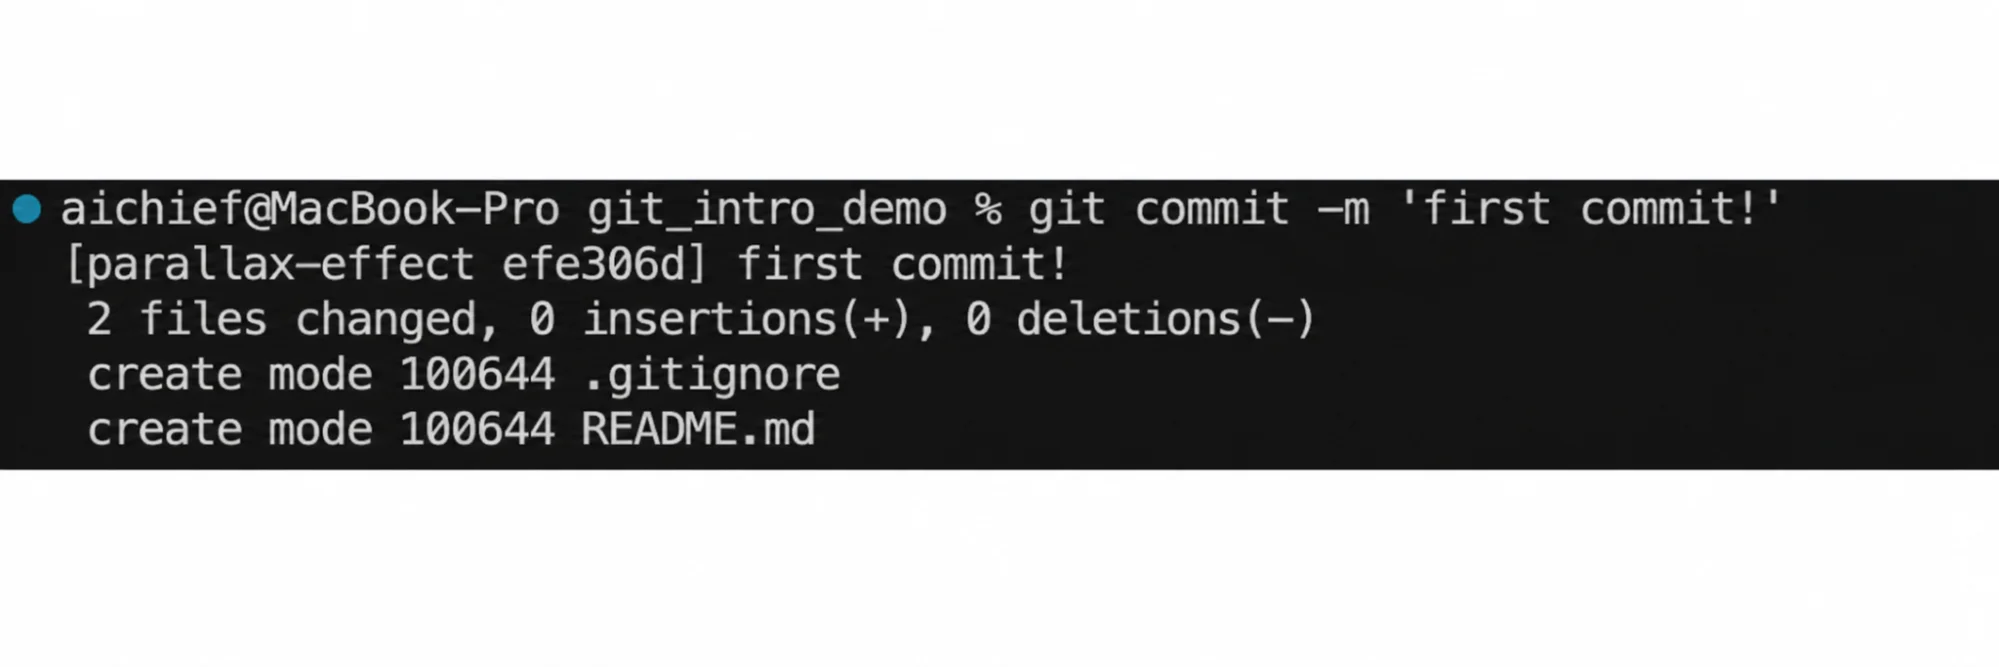
Your changes are now saved to the main branch.
Step 4: Create a Feature Branch
Using separate branches for features helps avoid issues and improves workflow clarity.
Create a branch:
git checkout -b feature-1
Now commits go to this branch.
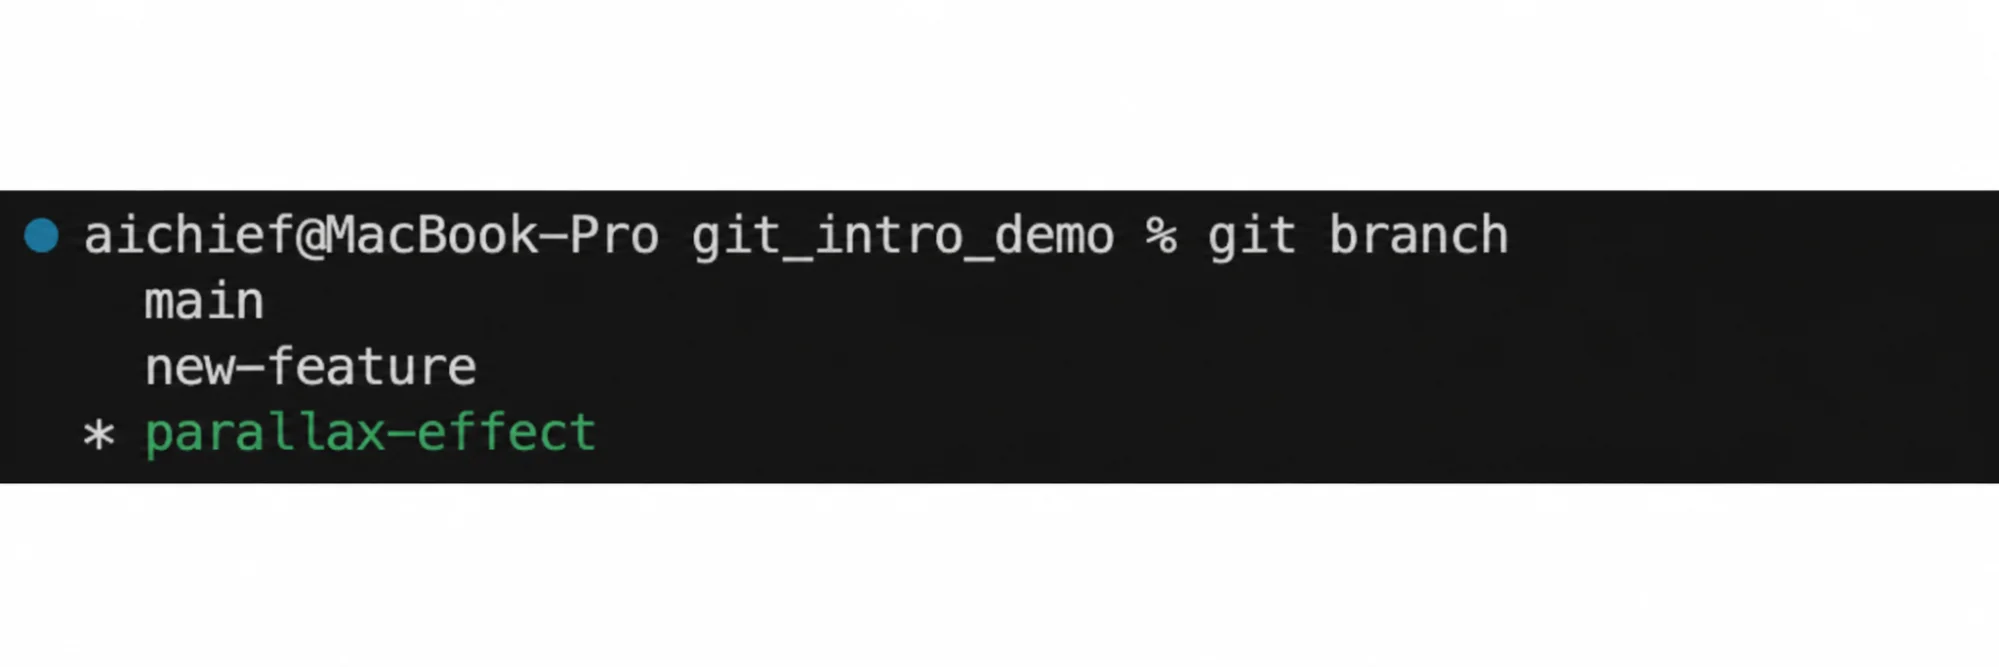
To view branches:
git branch
To switch branches:
git checkout [branch name]
Step 5: Merge Changes into Main
Add changes in your feature branch and commit them.
Switch back to main:
git checkout main
Merge your branch:
git merge feature-1
Your updates are now part of the main branch.

💡 Tip: Use git log to view commit history. To undo a merge, use:
git reset [commit hash
Step 6: Let AI Handle Git Workflows
When starting a project, add rules like this to your context file (e.g., CLAUDE.md for Claude):
Git Rules
1. Create feature branch: `git checkout -b feature-[name]`
2. Commit after each logical change: `git commit -m "Add [what you did]"`
3. When done, ask: "Ready to merge feature-[name] into main?"
4. Wait for approval before merging
5. Never commit directly to main
Going Further
To push your code online, install GitHub CLI and authenticate with:
gh auth login
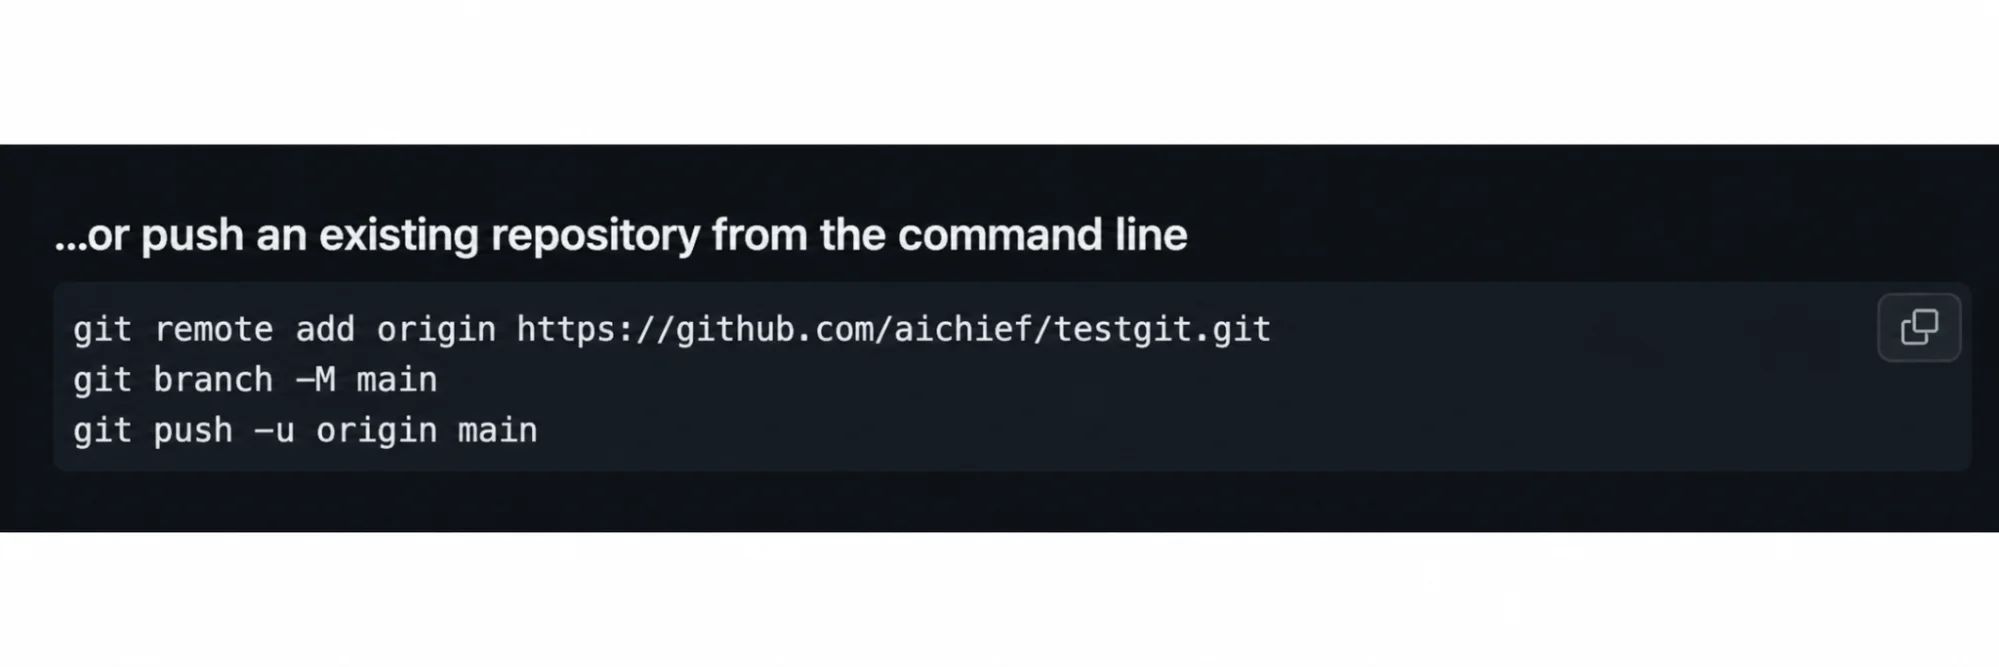
Create a repository on GitHub, then run the provided commands in your terminal.
To upload a branch anytime:
git push origin [branch name]
Emily Newton
Emily Newton is an experienced Editor-in-Chief who has spent the last decade sharing her insights on science and technology advances through platforms like IoT for All and DZone. She is deeply interested in showcasing how connected technologies and smart ecosystems transform modern businesses. When she isn’t writing, Emily enjoys walking local trails, playing video games, or curling up with a good book.


