AI Tutorial
How to Convert Any Flat Image Into an Editable Design in Canva
Learn how to convert flat images into fully editable designs using Canva Magic Layers. Edit text, move elements, and fix details without regenerating.
Share
This guide walks you through using Canva’s Magic Layers feature to transform a static image into a fully editable design. Whether you’re working with AI-generated visuals or older graphics, this method lets you modify individual elements, like text, colors, and layout, without recreating the entire image.
If you regularly create visuals with AI, this workflow eliminates the frustration of regenerating images just to fix small errors.
Who This Is Best For
- AI image users who get close to the perfect result but need quick fixes without re-generating
- Marketers & creators producing ads, social media graphics, or product visuals that need flexible edits
- Freelancers & small business owners who want to refine infographics, slides, or promotional designs without starting over
What You’ll Achieve
By the end of this process, you’ll have a system for:
- Converting flat PNG or JPG images into layered designs
- Editing text directly within the design
- Moving, resizing, or replacing visual elements
- Fixing small mistakes without compromising image quality
What You Need
- A Canva Pro subscription (Magic Layers is a premium feature)
- A flat image (PNG or JPG), either AI-generated or an existing design
Step 1: Start With an Image That Needs Adjustments
Choose an image that’s nearly correct but has small issues, like:
- Incorrect dates
- Misspelled text
- A tagline that needs rewriting
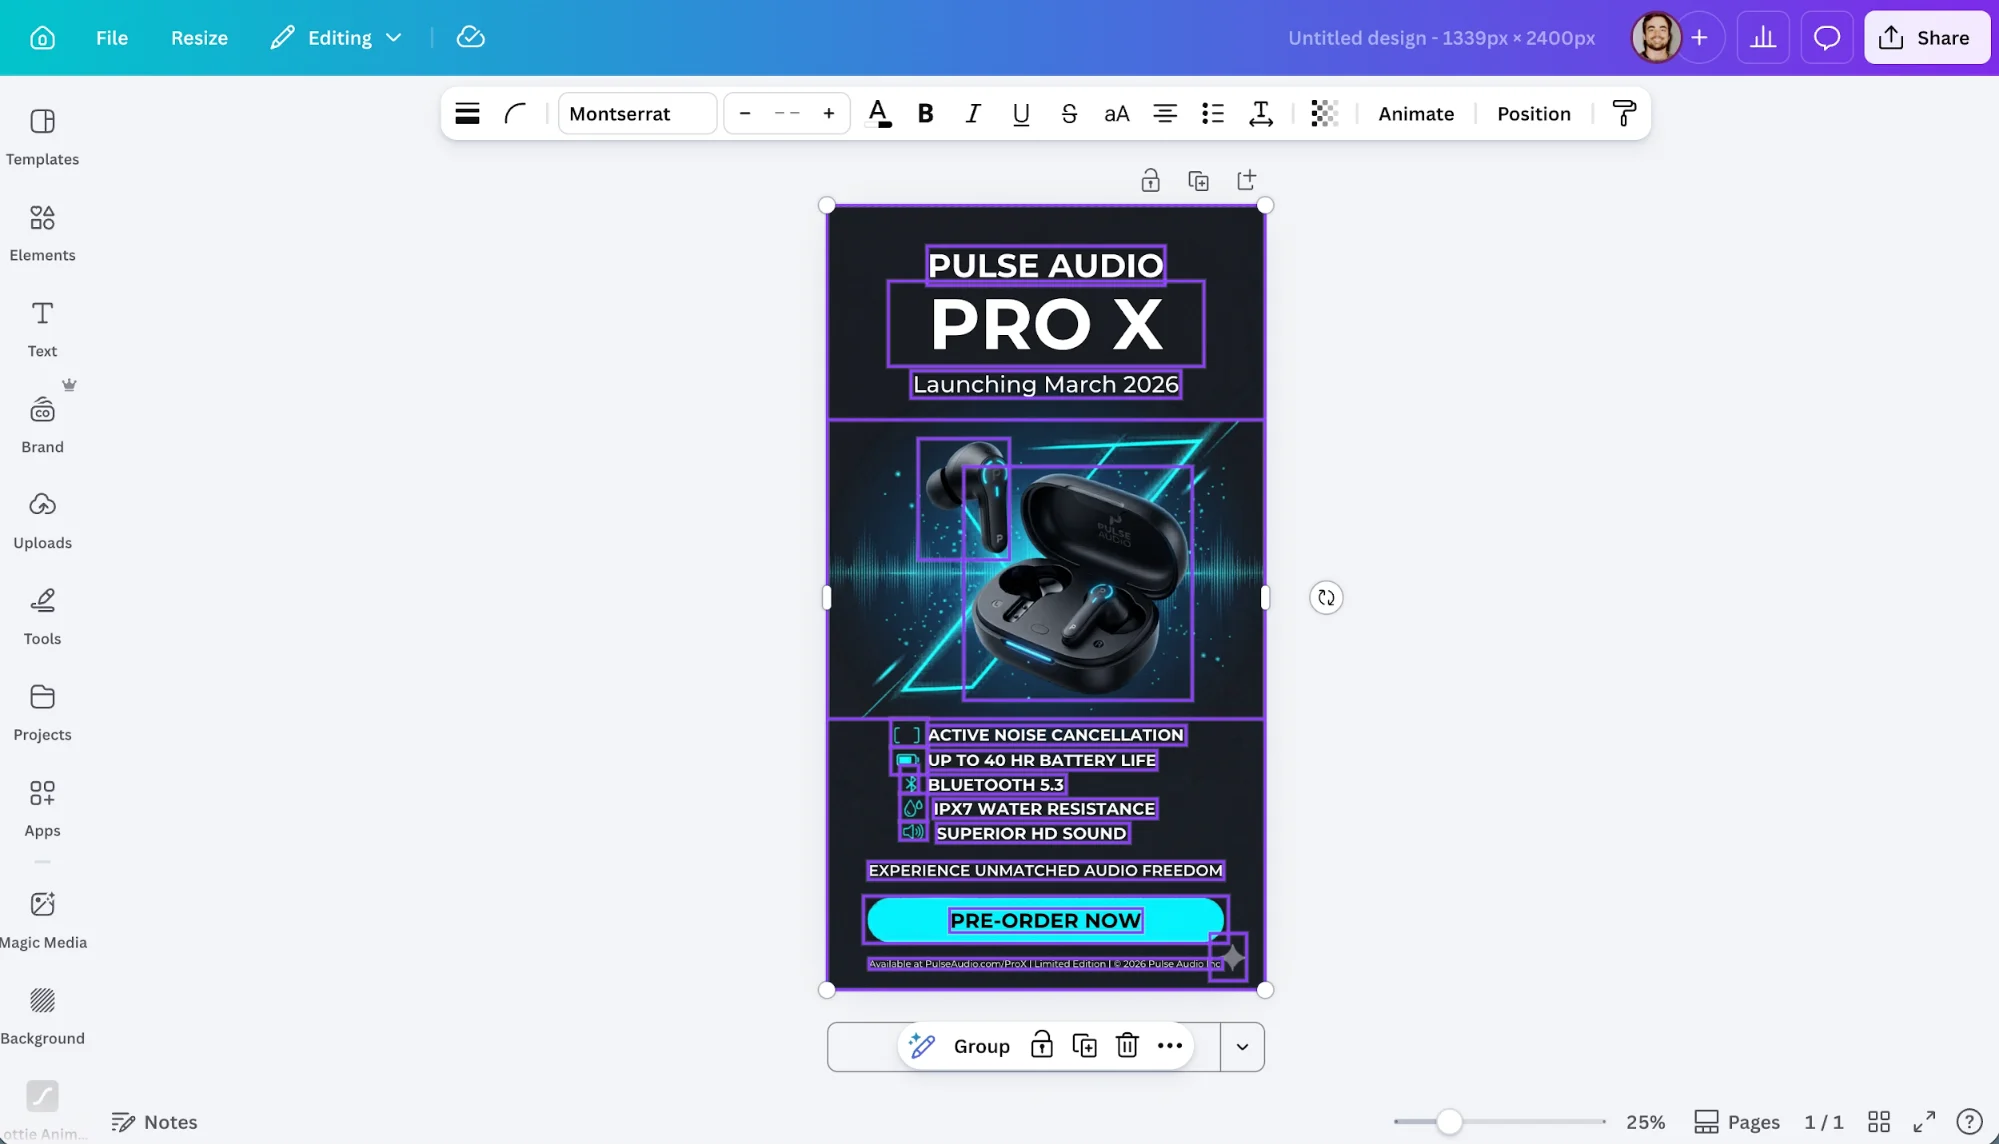
For example, imagine a product ad that looks polished but has the wrong launch date. Normally, you’d regenerate it using an AI tool, but each attempt often reduces quality over time.
Quick Tip:
Images with extremely detailed patterns or very small text may not process perfectly on the first try.
Step 2: Access Magic Layers
You can open Magic Layers in two ways:
- From the homepage: Go to Canva and select Magic Layers, then upload or choose your image
- From within a project: Select your image, then click Edit, go to Magic Studio, and choose Magic Layers
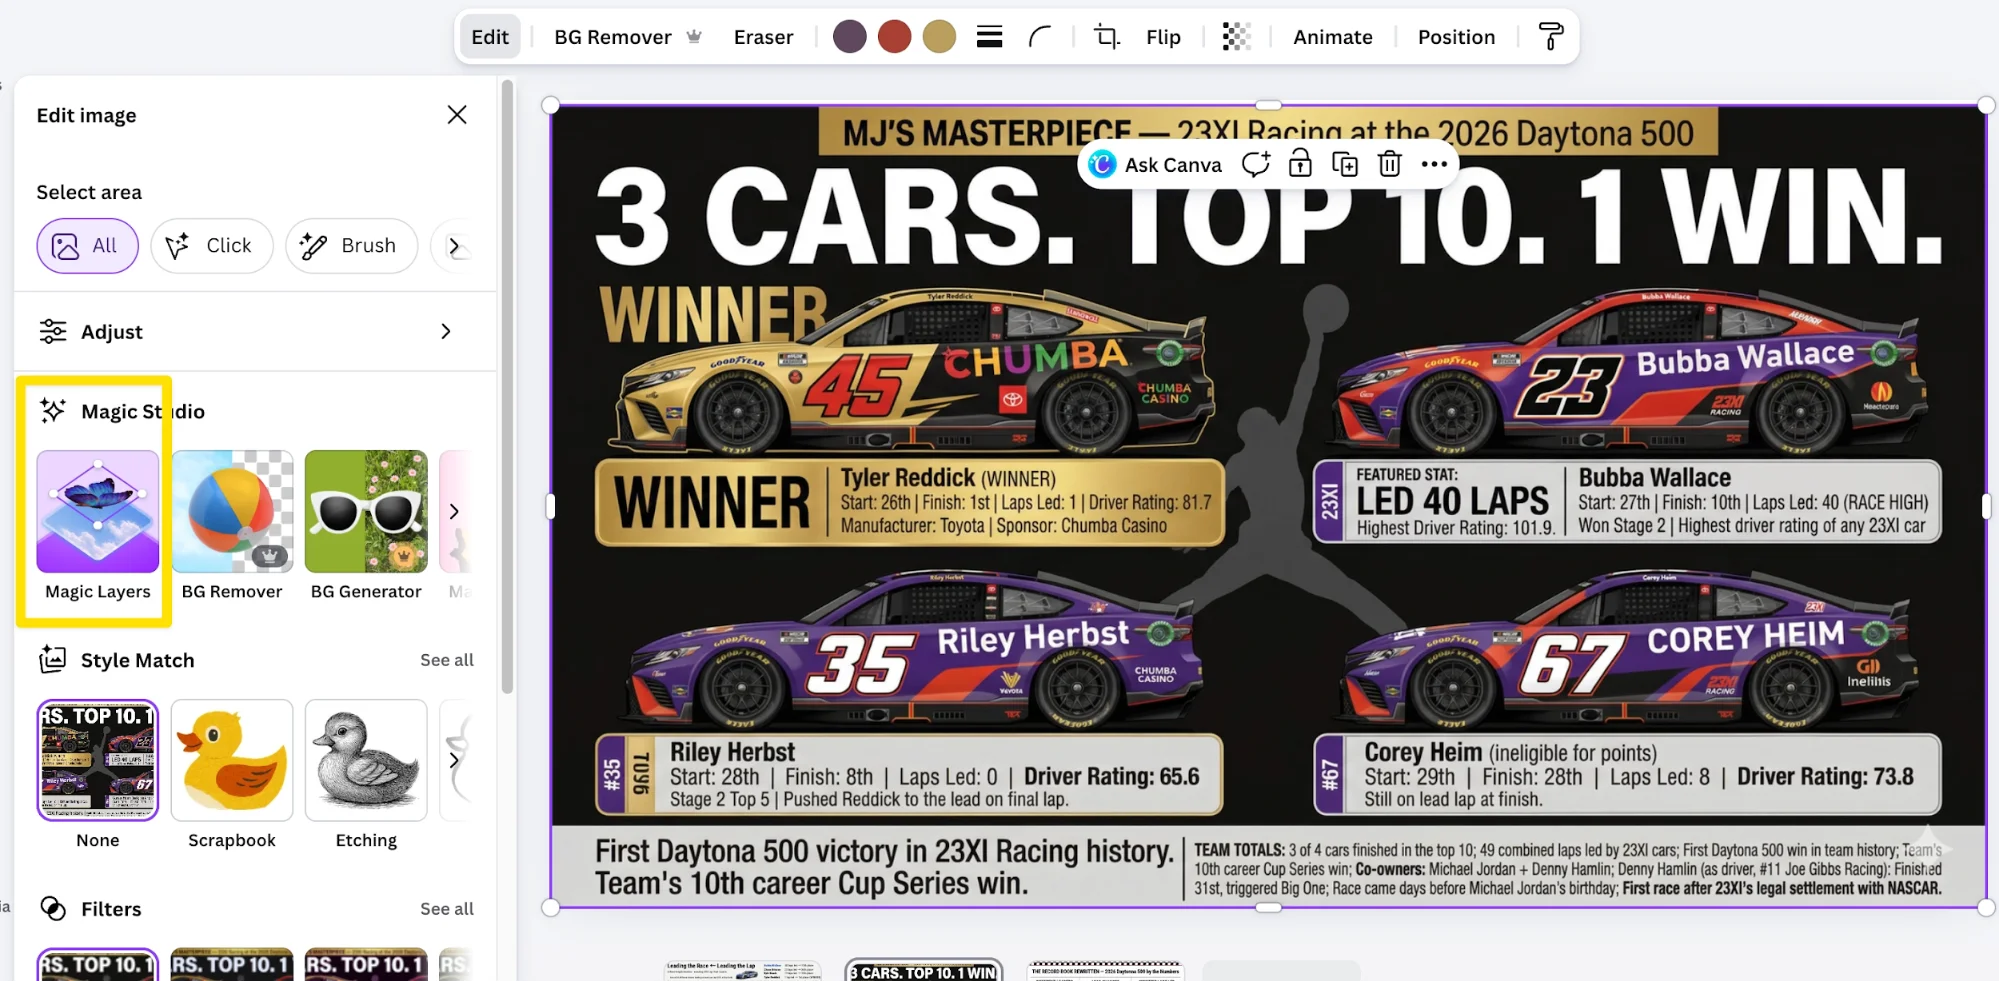
This feature is part of Canva’s AI toolkit.
Step 3: Let Canva Separate the Design Into Layers
Once you run the feature:
- Processing takes about 30–60 seconds
- Canva analyzes the layout and splits elements into layers
Typical layers may include:
- Headline text
- Supporting text (like dates or taglines)
- Product or subject images
- Background elements
Each layer becomes independently editable, with fonts and colors preserved.

Pro Tip:
This feature supports PNG and JPG files. If you’re working with a PDF, convert it into an image first before uploading.
Step 4: Edit Individual Elements
After the layers are created, you can:
- Click text layers to edit wording directly
- Adjust positioning, size, or alignment of objects
- Replace images while keeping the layout intact
- Delete or modify elements as needed
This turns your original flat image into a flexible design file.
Note:
Highly realistic photos may not separate cleanly. In those cases, consider using background removal tools first to isolate elements.
Take It Further
One of the biggest challenges with AI-generated visuals, especially infographics, is fixing small inaccuracies without losing the overall design.
With this workflow, you can:
- Generate the initial design using any AI tool
- Import it into Canva
- Use Magic Layers to refine and perfect it
This “generate first, edit later” approach makes it practical to create complex visuals like slides, infographics, and even merchandise designs, without sacrificing quality or control.
By combining AI image generation with editable layers, you move from trial-and-error prompting to precise, efficient design editing.
Editorial Staff
The Editorial Staff at AIChief is a team of Professional Content writers with extensive experience in the field of AI and Marketing. AIChief was Founded in 2025, AIChief has quickly grown to become the largest free AI resource hub in the industry. Stay connected with them on Facebook, Instagram and X for the latest updates.