AI Tutorial
Build a Coding Factory Using the Codex App
Learn how to use the Codex app to create a modular coding workflow and automate building a React app with parallel AI agents.
Share
In this guide, you’ll learn a more structured approach to coding with AI. Instead of running random prompts until you hit limits, you’ll use a system with the Codex app to build a website step by step each day.
Who This Helps
- Entrepreneurs who need to launch a landing page and blog quickly without hiring developers
- Semi-technical managers who want to avoid dealing with command-line tools and Git workflows
- Codex users ready to move from single prompts to repeatable, automated systems
What You’ll Create
A coordinated set of Codex agents that build a React app in parallel. The key is designing modular tasks and allowing multiple agents to work simultaneously.
What You Need Before Starting
- A Mac computer
- ChatGPT Plus ($20/month) or higher
Step 1: Initialize a React Project
Start by creating a new React app.
Run this command in your terminal using Vite:
$ npm create vite@latest vite-react-app -- --template react
Tip: You can use alternatives like Next.js or Create React App. If you’re unsure, ask an AI tool for guidance.
This step is done outside Codex because the app runs in a sandbox that doesn’t support these commands. It also keeps your workspace cleaner for later steps.
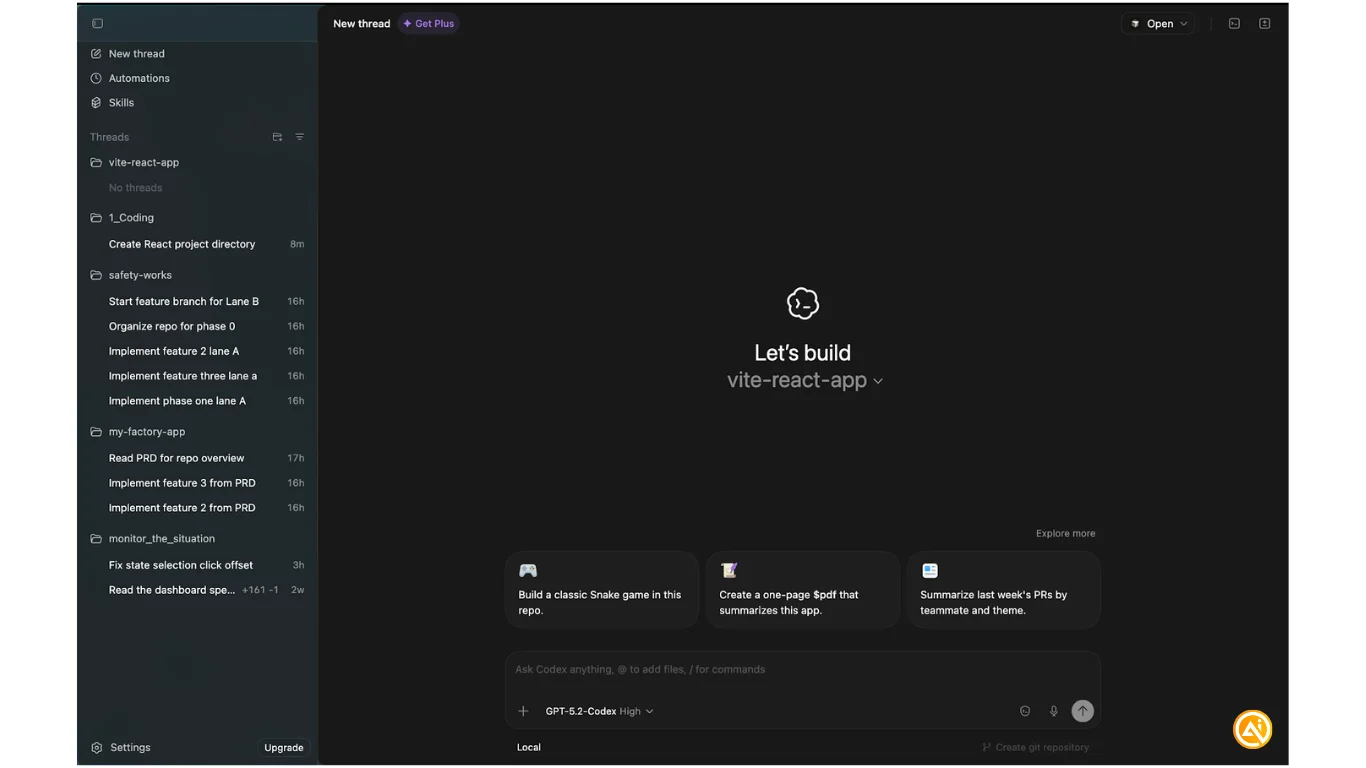
Step 2: Set Up Codex
Download and open the Codex app, then sign in.
Click Open Folder (Cmd + O / Ctrl + O) and select your project folder.
You should now see your project loaded.
Click Create git repository in the bottom-right corner to help track changes across agents.
Tip: Connect to GitHub by opening the terminal (Cmd + J / Ctrl + J) and running:
gh auth login
This allows Codex to push code directly to GitHub.
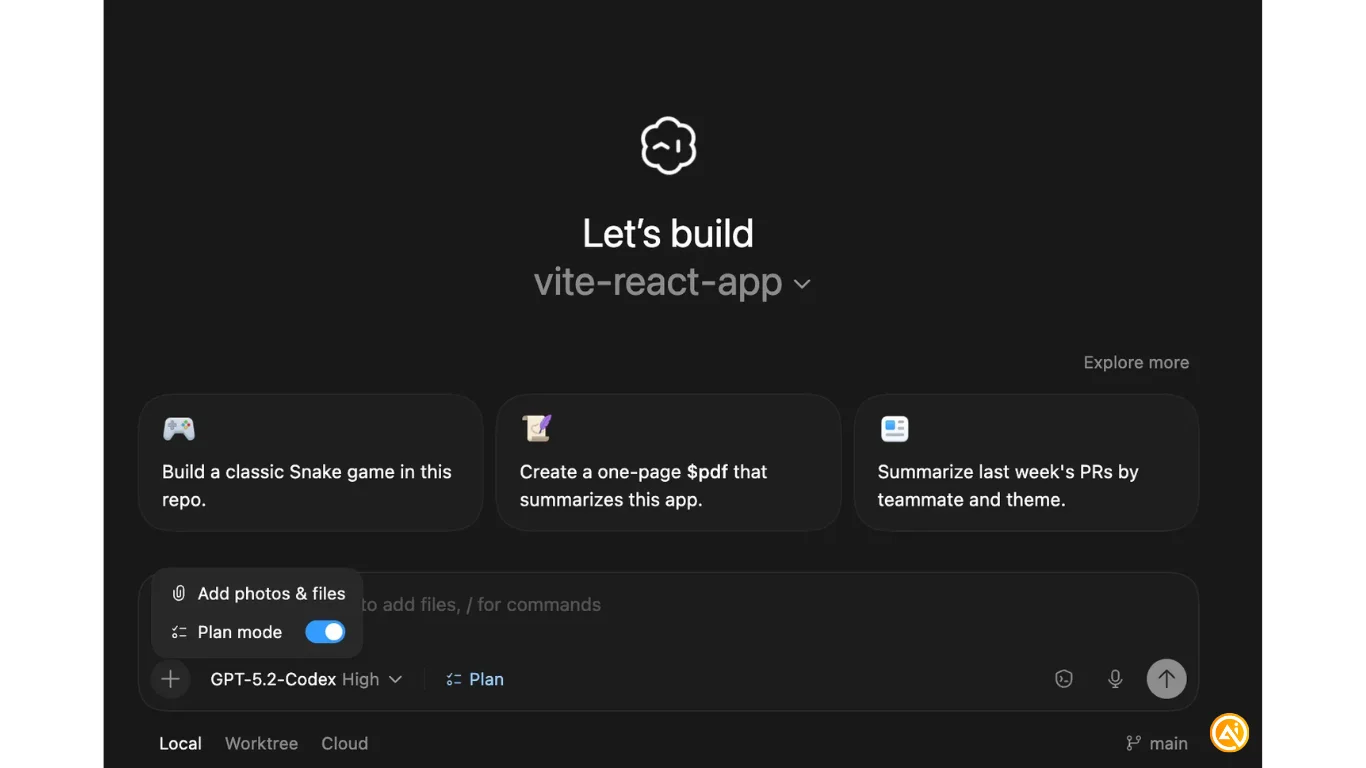
Step 3: Generate Your Initial Plan
Click the plus button and enable Plan mode.
Use this prompt:
Create a modular PRD (in markdown) and execution plan for a professional boilerplate SaaS website. The project must follow a "Parallel Factory" workflow where multiple agents can build separate pages simultaneously without conflicts. Phase 0: Designer Agent (Global Infrastructure). Then, parallel agents should build components and pages for landing, blog, about, contact, pricing, and privacy pages. Only I can edit the main App.jsx.
Tip: Open your PRD and files via Open → Open in and select your IDE.
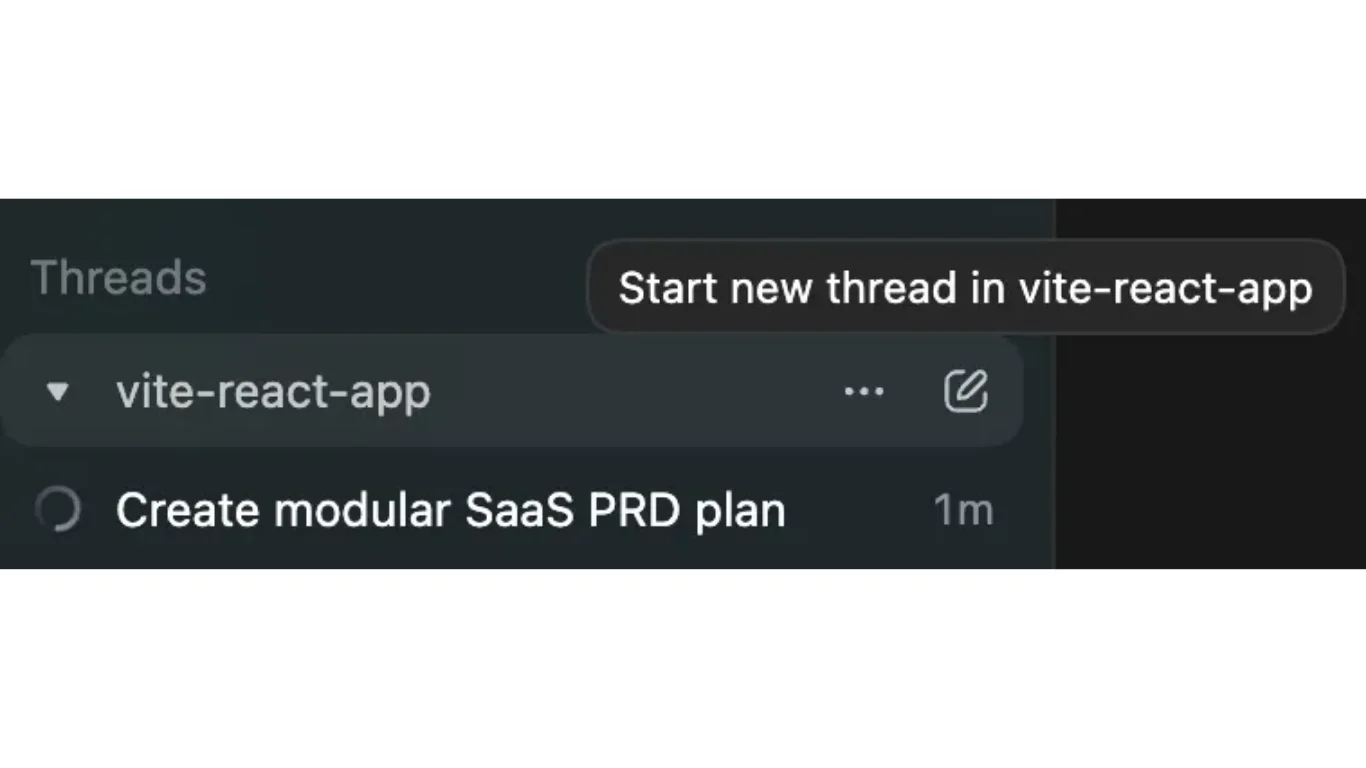
Step 4: Execute Phase 0
Start a new thread and instruct the agent to begin Phase 0. Reference your PRD file using the @ symbol.
Tip: Use the commit button (top-right) to save progress. These commits act as checkpoints and include auto-generated descriptions.
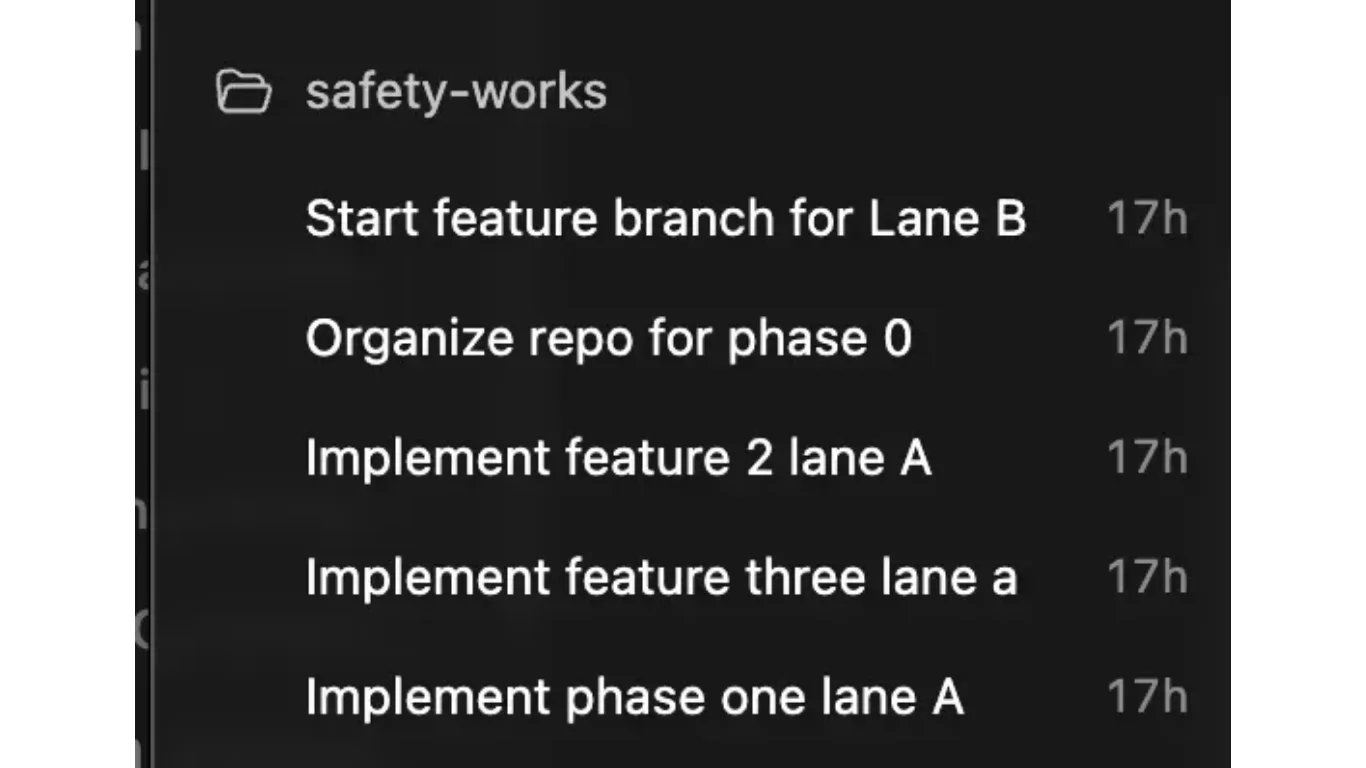
Step 5: Launch Parallel Agents
Create a new thread for each page defined in your PRD and assign agents to start building.
Tip: Ask each agent to create a separate feature branch for their work.
Once complete, use a main “review” agent to check each branch and merge them into your codebase.
To preview your app, click the play button and run:
npm install
npm run dev
Then launch the preview.
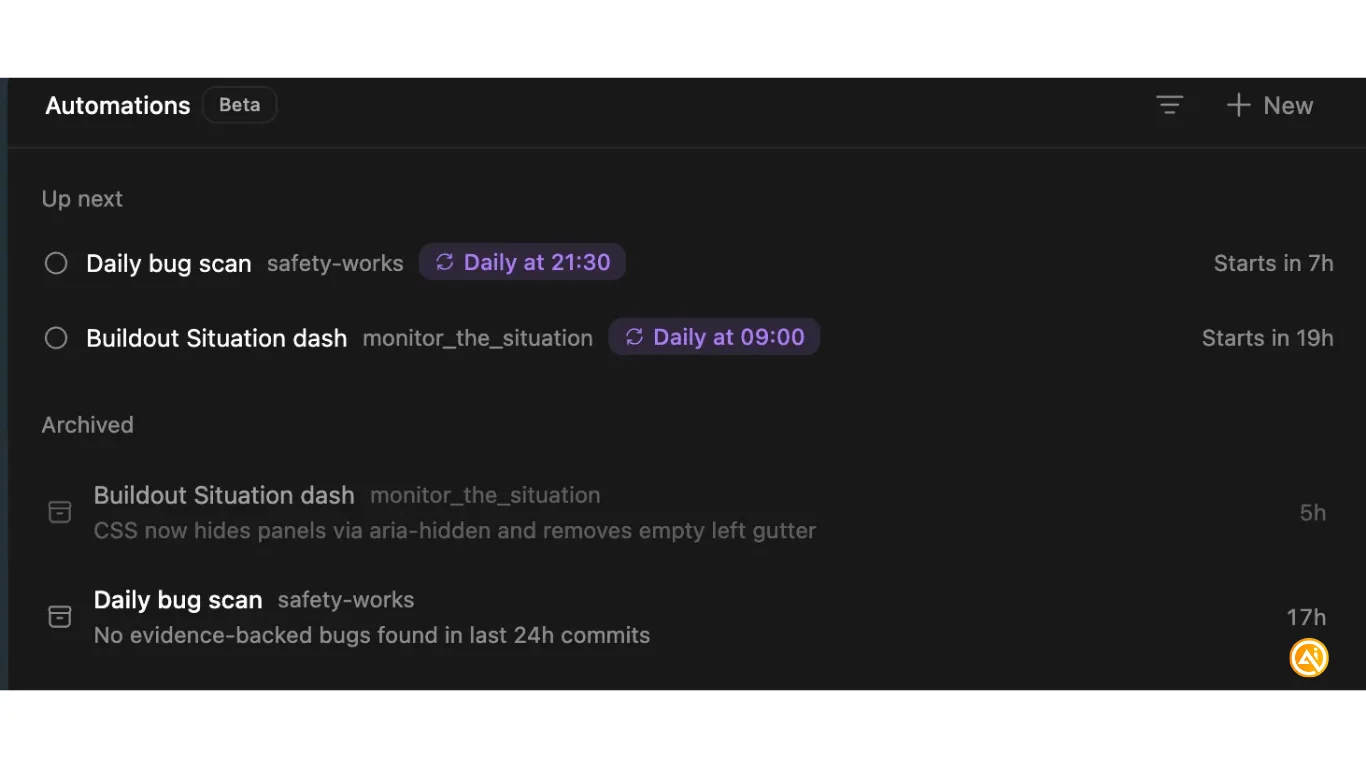
Step 6: Set Up Automations
Use the Automations feature to schedule recurring tasks like hourly or daily reviews.
Instead of long coding sessions, enable structured workflows such as:
- A daily feature builder agent that progresses through your PRD
- A commit review agent that checks code quality
- A bug-fixing agent that scans and resolves issues
Next Steps
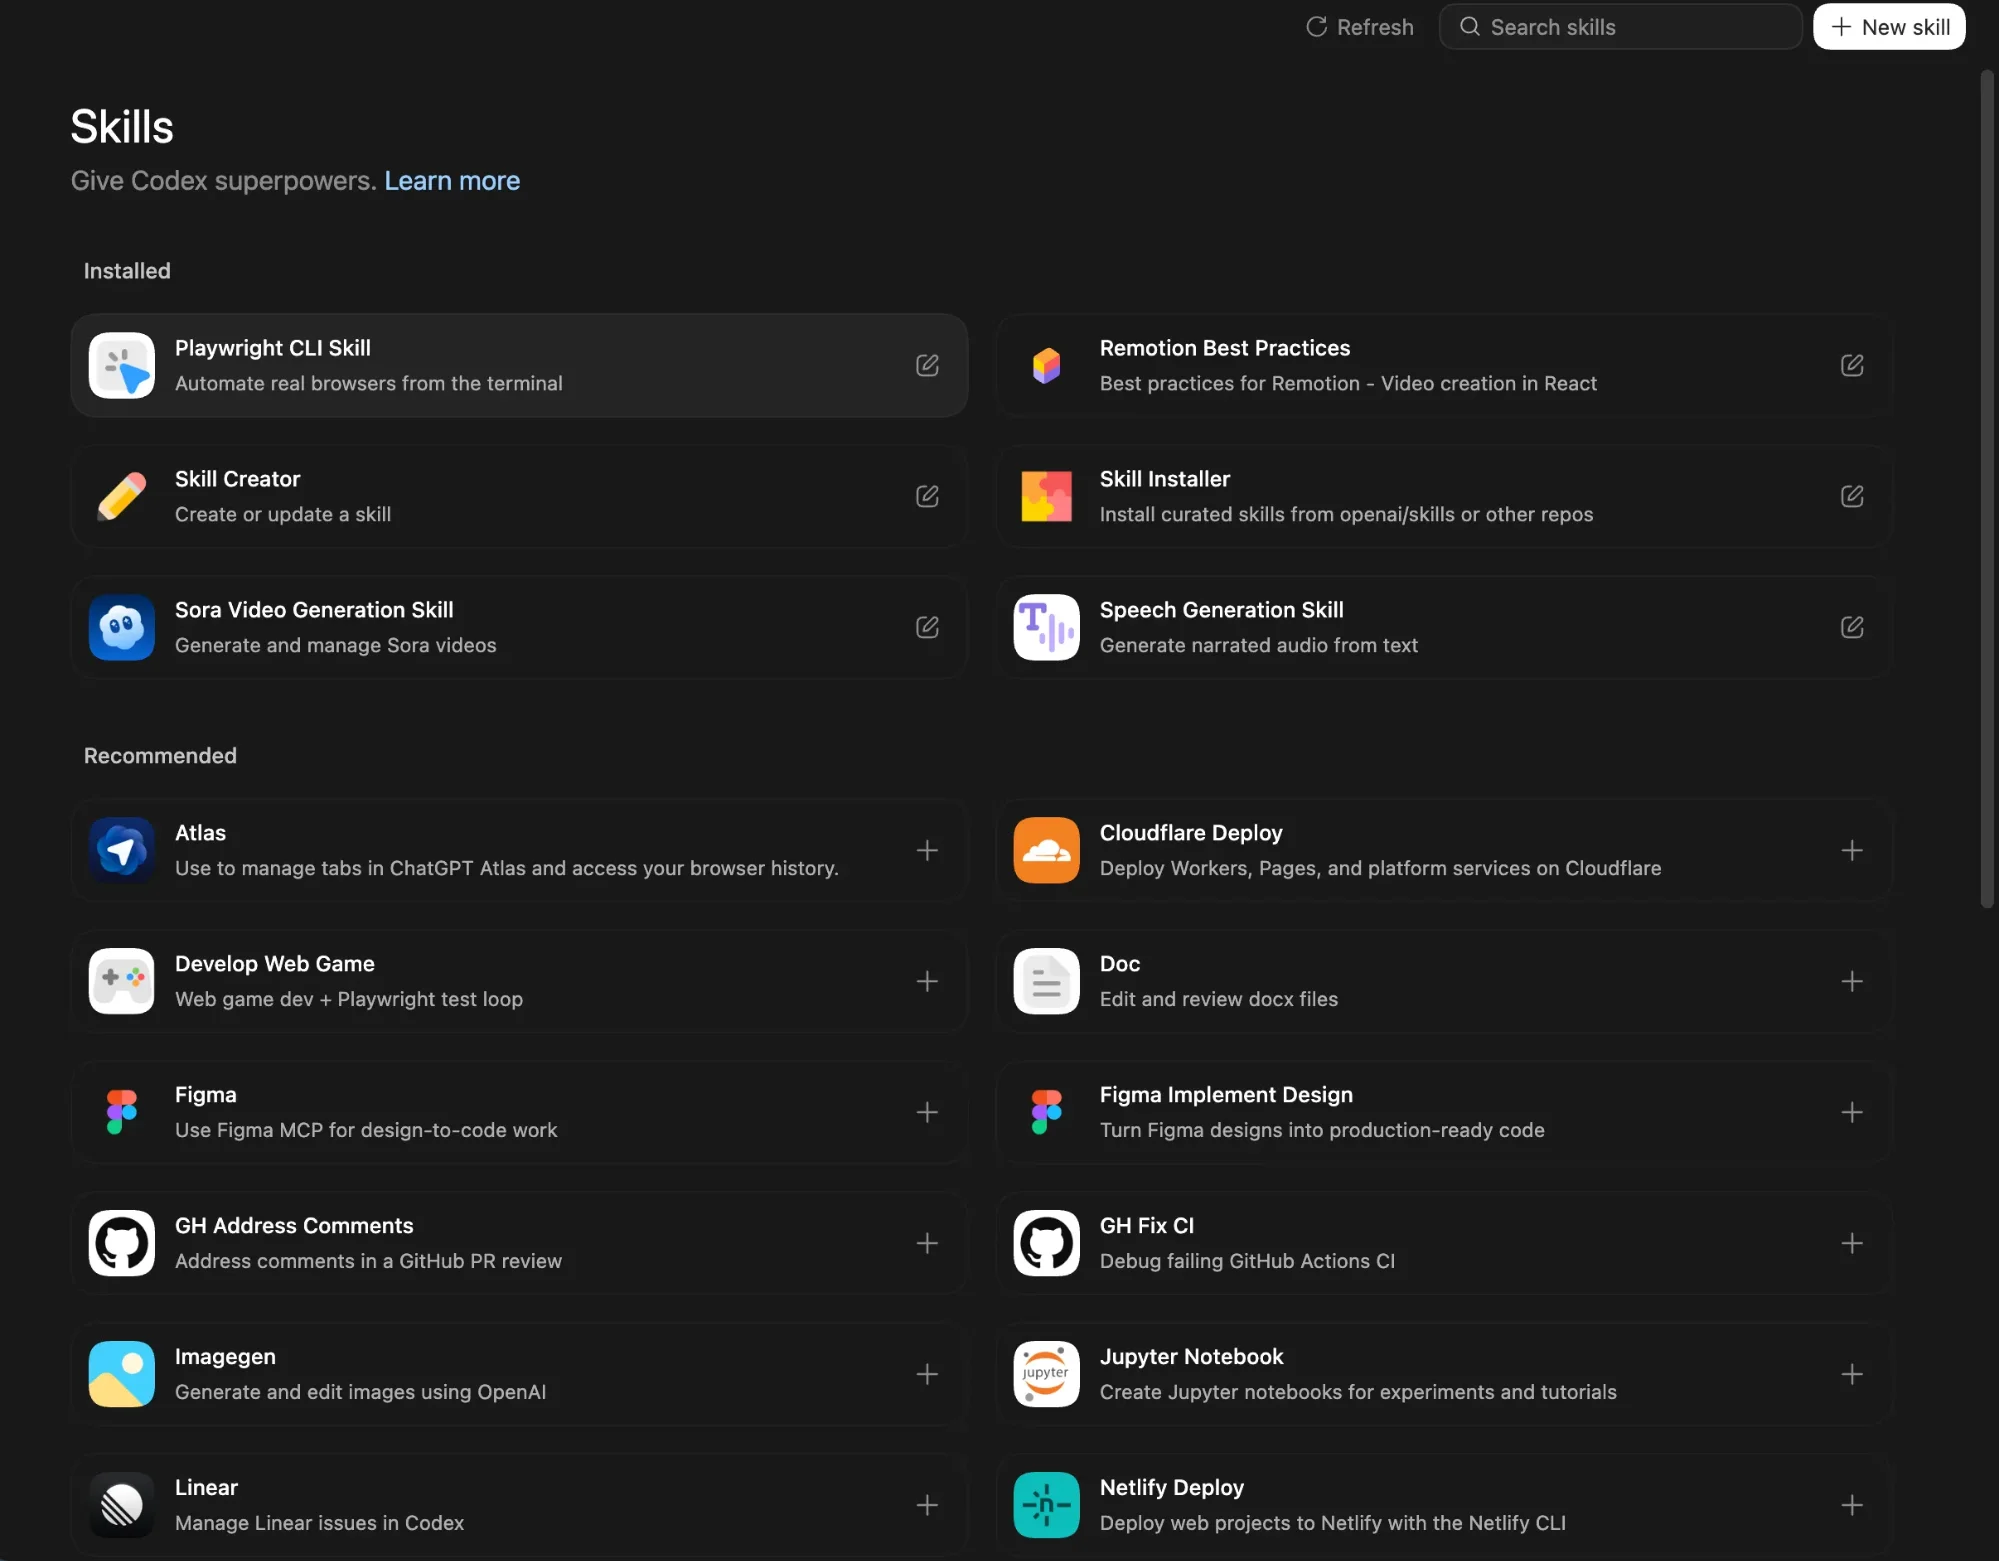
Explore the Skills section in the sidebar to install additional tools for Codex with one click.
Emily Newton
Emily Newton is an experienced Editor-in-Chief who has spent the last decade sharing her insights on science and technology advances through platforms like IoT for All and DZone. She is deeply interested in showcasing how connected technologies and smart ecosystems transform modern businesses. When she isn’t writing, Emily enjoys walking local trails, playing video games, or curling up with a good book.


